


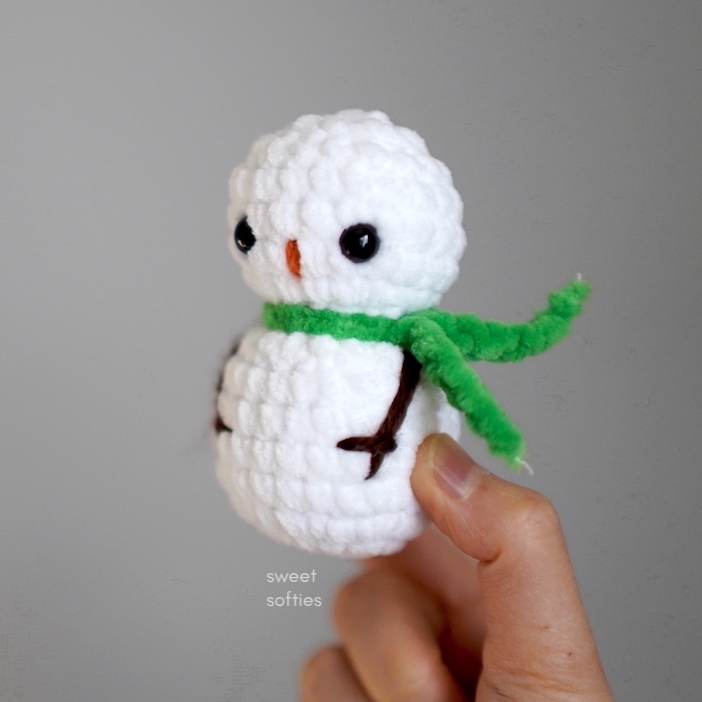
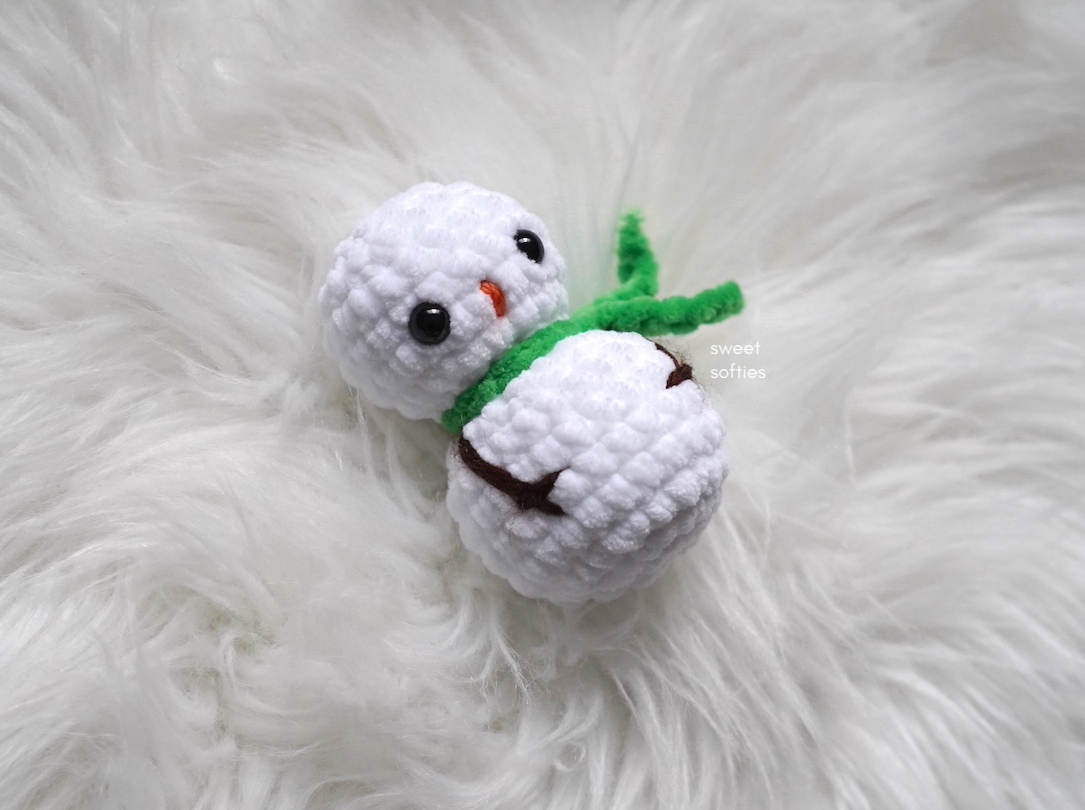
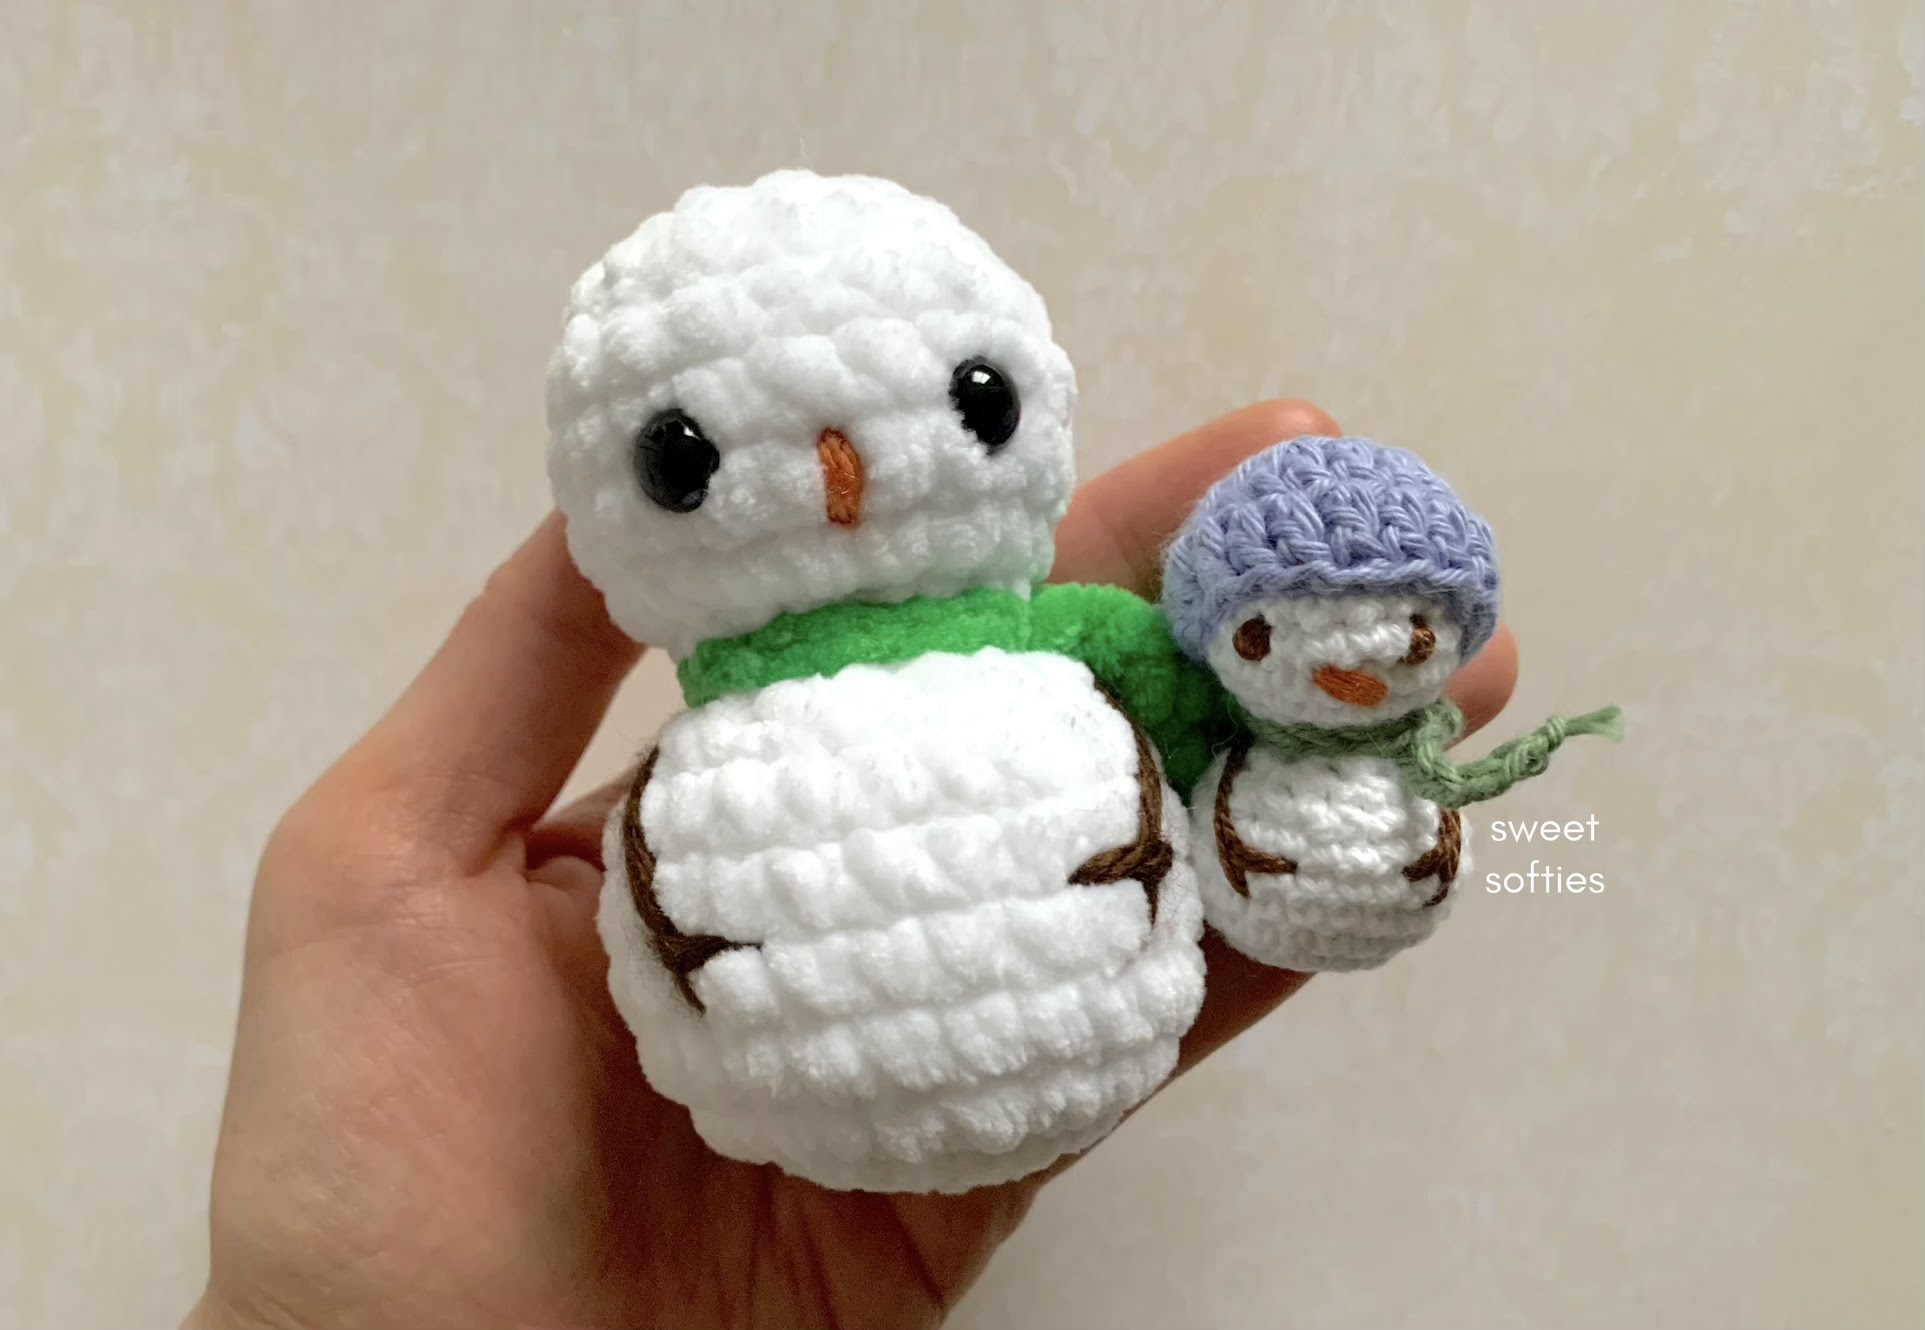
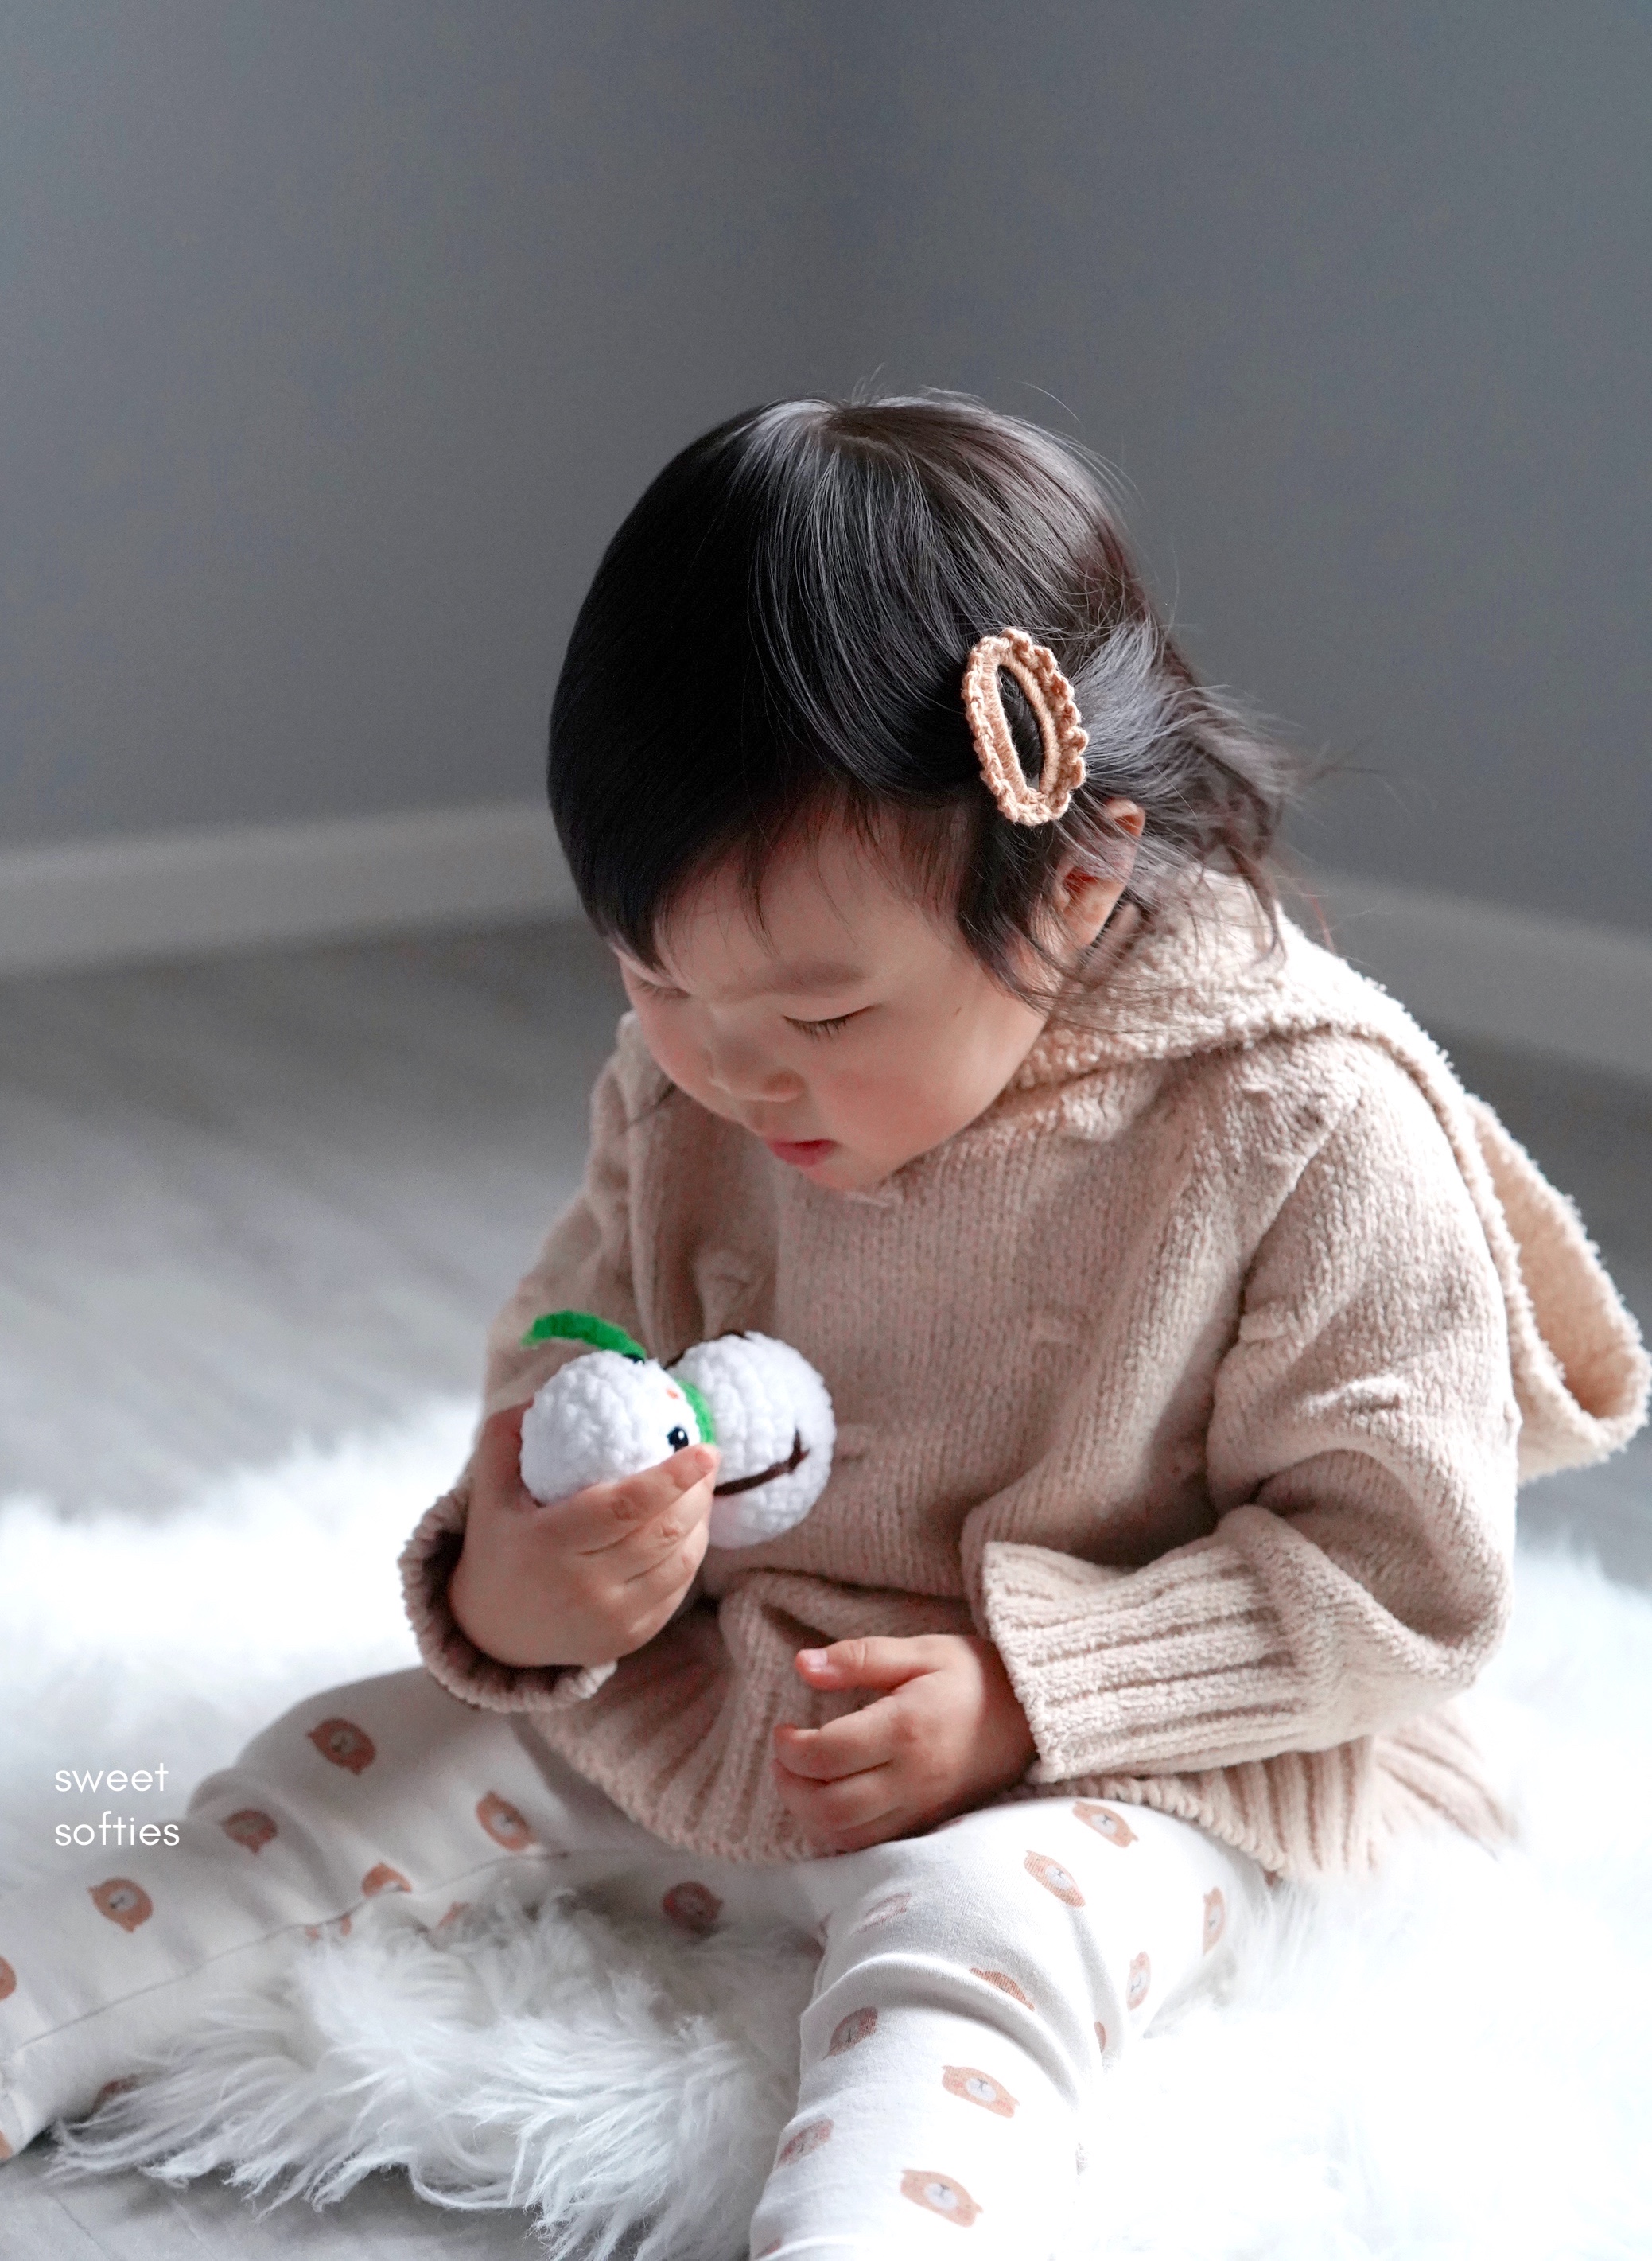
Ready for a quick, 30-minute crochet project? Let's make this beginner-friendly Chibi Christmas Snowman!
Links
- Download the PDF pattern in my store, Ravelry, or Etsy
- Save it on Pinterest
- Follow along with the complete video tutorial
It only takes 30 minutes to finish?
This craft is SO FAST! It takes me less than 30 minutes to make one snowman from start to finish. My testers have reported taking between 25-35 minutes on average to crochet this snowman as well. Some have also commented that they got faster with their second and third snowmen.

This snowman was crocheted by one of my testers, Sara!
Is it for beginners?
This pattern is absolutely beginner-friendly! It uses basic amigurumi stitches (see the pattern information section below). I also have a complete, step-by-step video tutorial on my YouTube channel to go along with this written pattern, so if you find yourself stuck anywhere or wanting to just follow along and crochet with me, you'll feel comfortable and well-supported in finishing your snowman! I want crocheters of all levels (especially beginners) to be able to make this project with confidence.
Construction
This snowman is worked seamlessly in one piece from bottom-up. That means you'll start at the butt, move up to the neck, then the head. You'll crochet the scarf around the neck afterwards. There's an optional hat pattern to make if you want your snowman's head to stay cozy (and might I say, a pom pom would look adorable on his hat!).
The only sewing that is needed is for the snowman's carrot nose and two branch arms at the end. Easy peasy!
Yarn
The yarn I used for designing this pattern is the Hobbii Honey Bunny yarn, which is an incredibly soft and plush chenille velvet yarn that is classified as a super bulky weight "6" yarn. It is like a version of blanket yarn, for those who haven't worked with it before! If you're looking for a very close alternative, I've also used Hobbii Baby Snuggle yarn before, which is very suitable for this project too.
The result of using these velvety yarns is a more traditional-looking plush! Classic amigurumi tend to have very sharp stitch definition with cotton and acrylic types of fibers, but you'll find that the stitches are hard to see and sort of "blend" into one another with velvet. I quite like this effect, though I find beauty in seeing the texture of the stitches clearly too. It's really a matter of personal preference!
Customization
These adorable snowmen can be customized in so many ways!
Size: Make a large plush with super bulky weight yarn and a large hook. Or, you can make a small version with thin yarn and a smaller hook. For instance, using this Hobbii Friends Cotton yarn with a 2.25mm hook has produced a tiny, 2-inch tall snowman that makes a perfect keychain! You can even turn mini snowmen into jewelry charms, such as for necklaces, earrings, and bracelets.
Details: Customize your snowman by adding embellishments or sewn details. Here are some examples:
- Facial expressions
- Buttons
- Bows or bow ties
- Pom poms (adding one or two to the hat would be adorable!)
- Appliques
- Crocheted Christmas hat

Gifting & Selling
These adorable snowmen would make great...
- Christmas tree ornaments
- Winter holiday gifts
- Stocking stuffers
- Party favors
- Class gifts for students, or for colleagues and coworkers
- White elephant gifts
If you're a market vendor selling in the Fall and Winter seasons, you'll want to stock up on some fast and easy makes, such as this snowman. You can also check out my free Holiday crochet pattern roundup for other quick and easy choices to add to your craft fair table.
Note for sellers: Remember, if you are selling a product made from my pattern, please provide credit to me as the pattern designer by including both my brand name and website, such as:
"Designed by Sweet Softies, www.sweetsofties.com"

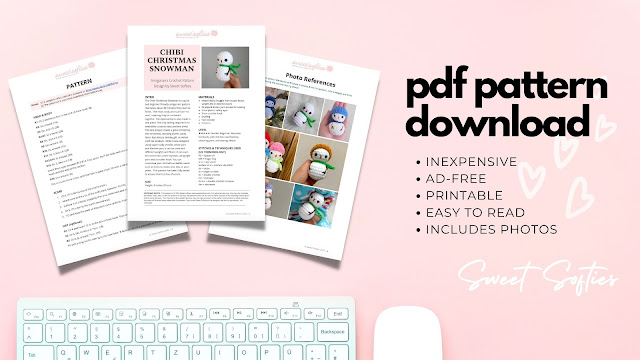
PDF Pattern
The PDF pattern is printable, ad-free, easy to read, includes photo references, and helps support Sweet Softies! (If you enjoy my free patterns, you can consider it as a donation to me when you buy one of my pattern PDFs! It allows me to maintain my blog and continue sharing more free patterns.)
CHIBI CHRISTMAS SNOWMAN
Free Amigurumi Crochet Pattern
Terms of Use & Copyright Notice © 2022 Sweet Softies (www.sweetsofties.com). You have permission to sell finished products made from this pattern, but you must credit Sweet Softies as the owner/creator of this pattern by linking to my website (www.sweetsofties.com). No wholesale. You may not translate, copy, alter, or sell my patterns in part or in whole in any way. My patterns may not be used in video tutorials or teaching online classes. My patterns may be used in teaching in-person classes ONLY with written consent from me. You may link to this pattern but you may not copy any part of the pattern instructions on other websites.
Crochet Pattern Information
Size:
Approximately 4 inches (10 cm) acrossLevel of Difficulty:
★★☆☆☆ Easy. Requires familiarity with stitches used (below).
Stitches/Terms Used:
- FO = fasten off
- YO = yarn over
- MR = magic ring
- ch = chain
- sl st = slip stitch
- sc = single crochet
- dc = double crochet
Materials:
- Hobbii Honey Bunny yarn, Hobbii Baby Snuggle yarn, or other super bulky weight "6" yarn in desired colors
- Orange & brown yarn scraps for sewing
- 9mm plastic safety eyes
- 5mm crochet hook
- Stuffing
- Yarn needle
- Scissors
Crochet Instructions
Notes: A full video tutorial is available for this pattern. This snowman is crocheted seamlessly from bottom-up.
R2: Inc around. (16)
R3: (Sc, inc) x 8. (24)
R4-R7: Sc around. (24)
R8: (Sc, dec) x 8. (16)
R9: Dec around. (8)
R10: Inc around. (16)
R11: (Sc 3, inc) x 4. (20)
R12-R14: Sc around. (20)
R15: (Sc 3, dec) x 4. (16)
Insert 9mm eyes between R12-R13, 4 sts apart. Stuff the body well and continue stuffing the head until the end of this section.
R16: Dec around. (8)
Dec a couple more times, until the hole is quite small. FO with a tail to sew the hole closed.
R2: Ch 3, (dc, dc-inc) x 6. *Join. (18)
R3: Ch 3, dc around. *Join. (18)
FO with a long tail for sewing to the head later. If desired, attach a pom pom to the top.
HEAD & BODY
R1: Ch 2 and insert 8 sc in the 2nd ch from hook. (8)R2: Inc around. (16)
R3: (Sc, inc) x 8. (24)
R4-R7: Sc around. (24)
R8: (Sc, dec) x 8. (16)
R9: Dec around. (8)
R10: Inc around. (16)
R11: (Sc 3, inc) x 4. (20)
R12-R14: Sc around. (20)
R15: (Sc 3, dec) x 4. (16)
Insert 9mm eyes between R12-R13, 4 sts apart. Stuff the body well and continue stuffing the head until the end of this section.
R16: Dec around. (8)
Dec a couple more times, until the hole is quite small. FO with a tail to sew the hole closed.
SCARF
- Ch 5. (This forms one of the scarf’s ends.)
- Attach yarn to the side of the doll’s neck, between R9-R10.
- Surface sl st around, stopping after you come back and sl st into the same starting st.
- Ch 5. (This forms the scarf’s second end.)
- FO and knot the ends so they don’t come undone. Trim the ends.
HAT (optional)
R1: Ch 4 and insert 12 dc in the 4th ch from hook. *Join with a sl st to the first dc. (12)R2: Ch 3, (dc, dc-inc) x 6. *Join. (18)
R3: Ch 3, dc around. *Join. (18)
FO with a long tail for sewing to the head later. If desired, attach a pom pom to the top.
FINISHING
- Using orange yarn, sew a nose to the snowman’s face.
- Using brown yarn, sew arms to the body.
- Sew the hat to the snowman’s head.
- If desired, turn the snowman into an ornament by attaching a loop of yarn to the top of the head.
Congratulations on finishing your snowman!

Video Tutorial
If you'd like to crochet along with me, please check out the complete video tutorial below! I made this video so that beginners or those who do not read written crochet patterns can follow along and make this project with confidence.
Thank you for reading, and hope you had a fun time crocheting this project! If you'd like to help out my blog, feel free to check out my post, "5 Ways to Support my Blog!"
You might like my other designs if you enjoyed this one! Simply click on the image below for the pattern, or check out all my free patterns here.


I'd love to see your finished work from my designs! Here are links for sharing photos of your creations:
Best wishes,

.jpg)


