


If you're looking to inject new life into your home and give it a fresh, modern look, the first place to start is by updating the wooden parts of your house. Remodeling these features can create a dramatic transformation in just one weekend! This Ultimate Guide will walk you through everything you need to know when remodeling the wooden components of your house – from choosing materials and tools, prepping surfaces, installing hardware, and more. With all these tips at hand, you'll be able to tackle any project with confidence - so let’s get started today!
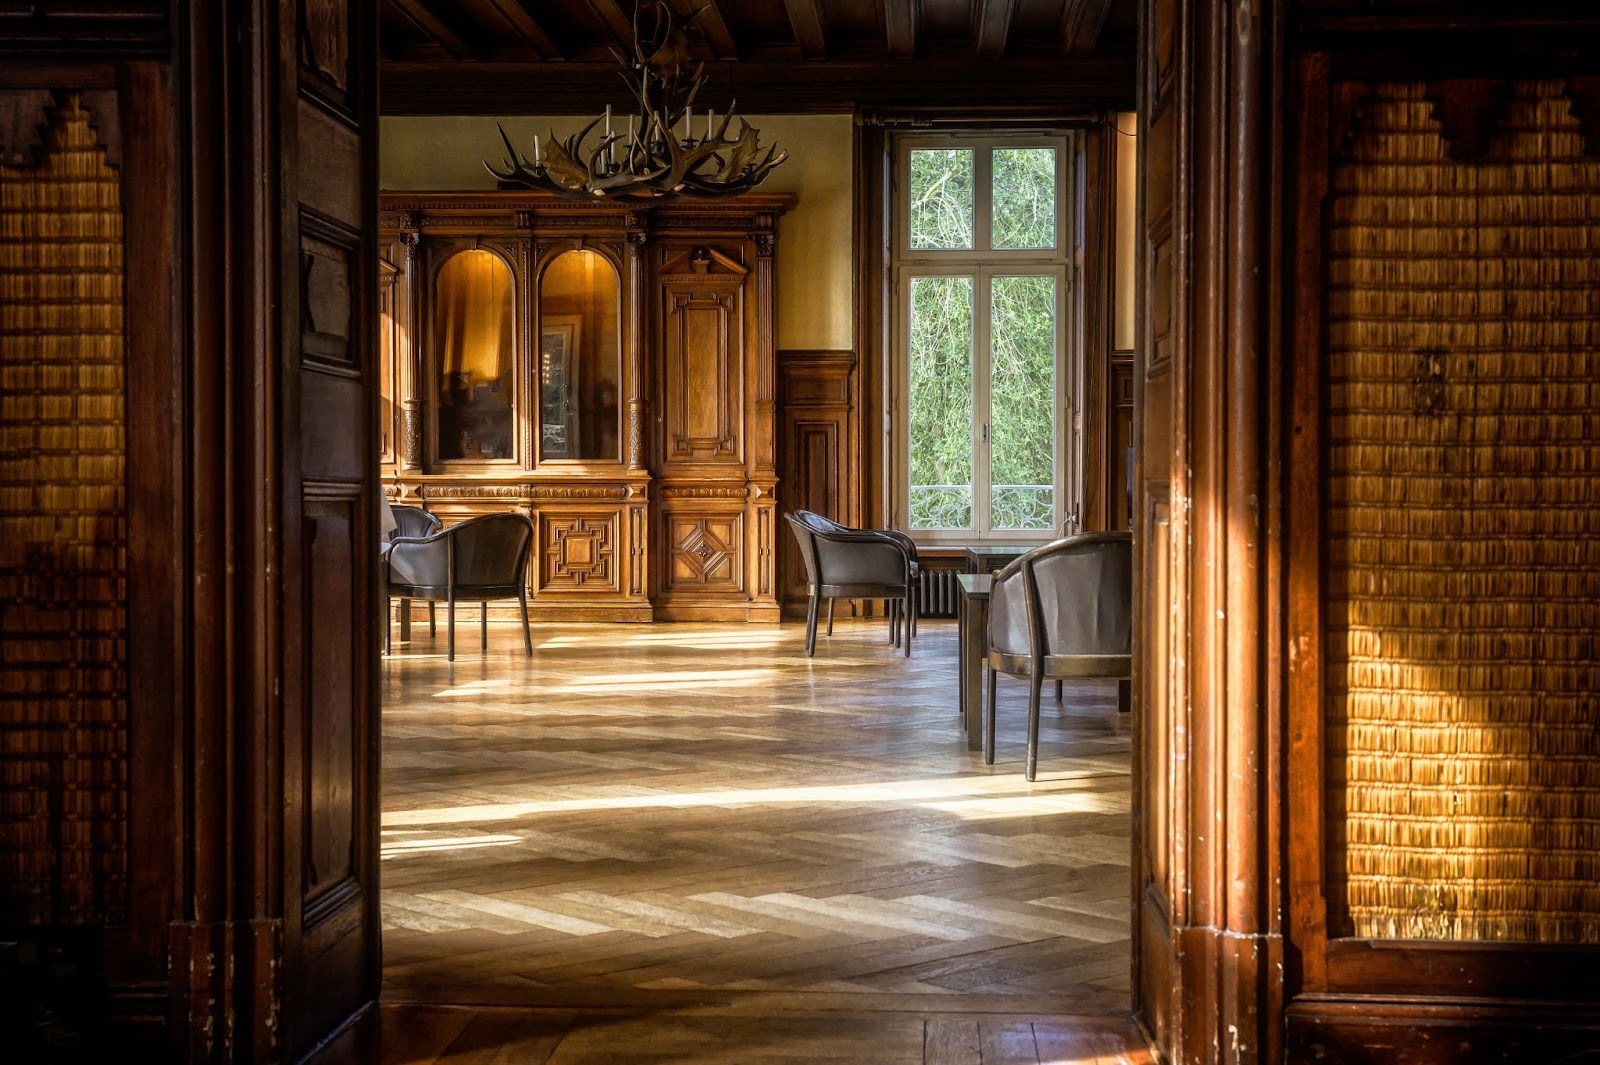
It can be a lot of work remodeling the wooden parts of the house but it is definitely worth the effort as it can dramatically improve the overall look and feel of your home. With dedication and attention to detail, you can give your wood furnishings a beautiful new look that will make a lasting impression. From preparing your space with the right tools and equipment to sanding, stripping, staining, varnishing, painting, and finishing touches, these steps all contribute to a successful outcome. Finally, taking preventative measures such as periodically cleaning and inspecting for any issues can help keep your wood looking fresh and new for longer. Congratulations on taking the first step towards giving your house that desired wooden upgrade and good luck with the new project!
Getting the Right Tools and Equipment Before You Begin
When it comes to remodeling wooden parts of your house, the first thing to remember is that preparation is key. Make sure you have all the necessary tools and equipment before you begin. This includes everything from small wooden stair accessories to saws, hammers, screwdrivers, and other hardware. Gather them all together ahead of time - it will make the process smoother and more efficient so you can get on with the task at hand!Important Steps for Preparing the Surface
Sanding and stripping are two important steps to consider when preparing a surface for remodeling the wooden parts of your house. Not only do they provide a smooth, even look when finished, but they can also help protect against further damage in the future. By sanding away any rough patches or imperfections, you’re creating an ideal base before beginning any restorative work. Stripping off any old paint, varnish, or sealant helps ensure that you have a clean starting point and it can prevent new paint or product from peeling down the line. Both actions will allow your work to last longer and need less upkeep moving forward.Different Techniques For Rejuvenating Wood
Staining and varnishing are crucial elements to rejuvenating old wood, giving it a fresh, new look. Each has its procedure, so it’s important to first understand the difference between them. Simply put, staining adds color to the wood without changing its texture, while varnishing provides a glossy finish to enhance the shape of whatever is on the surface. Finding the right technique for your project depends on what kind of weather resistance and stain you’re looking for.Homeowners often look for kiln-dried wood for sale to replace damaged or aging wood while ensuring durability and stability for their projects. Properly dried wood resists warping and absorbs stain more evenly, making it an excellent choice for both indoor and outdoor applications.
Tips for Applying a Smooth and Even Finish
When it comes to achieving a smooth and even finish on wooden surfaces, painting is one of the most effective methods. However, certain techniques must be kept in mind to ensure the highest quality results. Priming is essential for optimum results and should be done before applying coats of paint. Sanding between layers is another important step to make sure everything works together seamlessly, so take time between coats to give each surface a light sanding with 220-grit sandpaper. Finish by applying a few coats of clear sealer or varnish so your new paint job looks bright and glossy!Adding Decorative Details to Wooden Furniture
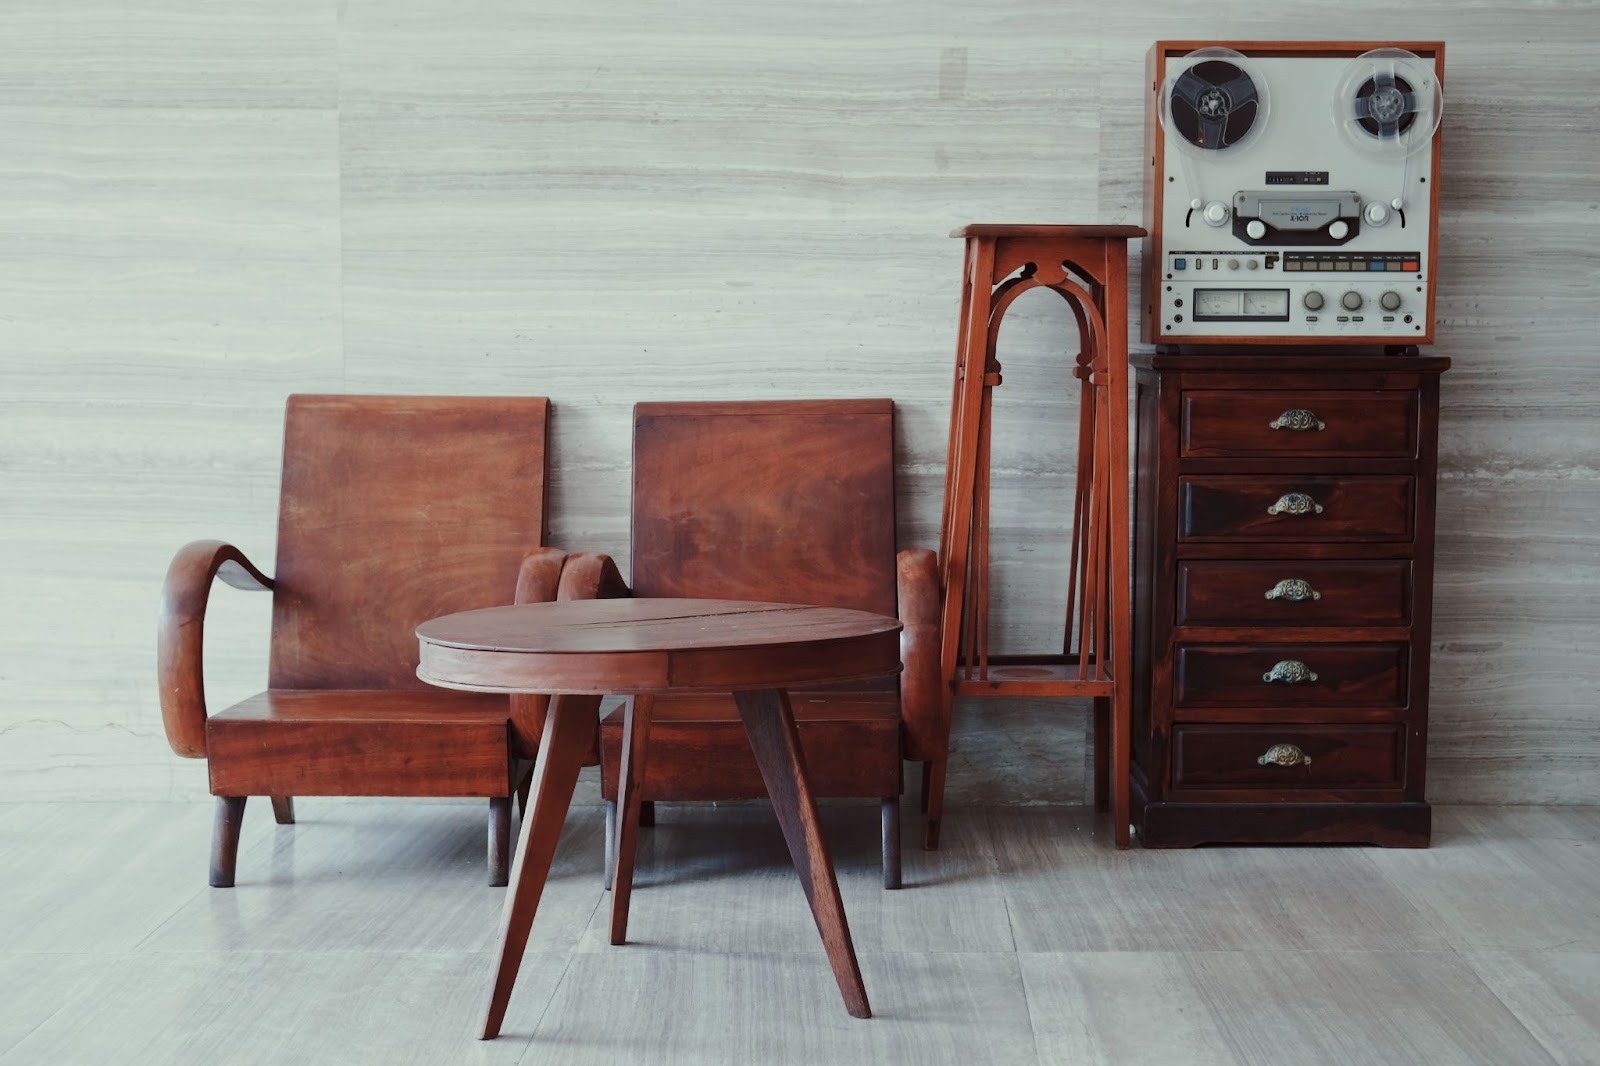
Adding decorative details to wooden furniture can give a room an extra bit of charm, and it doesn’t have to be exceptionally difficult! A great way to start is by incorporating trim molding, which adds a unique texture to any piece of furniture. You can also stain it in various colors to further customize the look - from natural wood grains to rich mahogany. And if you’re looking for something a little more ornate, consider gluing on some painted paneling or adding intricate carvings for your desired effect.How To Keep Your Wood Looking Fresh and New for Longer
Don't forget to maintain and repair the wooden parts of your house! Whether you're going through a full-on remodel or just updating some elements here and there, keeping your wood looking fresh and new for longer can be achieved with proper attention. Regular maintenance practices like cleaning off built-up dirt, checking for dry rot, sealing wood joints with waterproof coatings, and using preventative sealants will help to ensure that you not only get the look you want initially but also keep it looking great for years to come.It can be a lot of work remodeling the wooden parts of the house but it is definitely worth the effort as it can dramatically improve the overall look and feel of your home. With dedication and attention to detail, you can give your wood furnishings a beautiful new look that will make a lasting impression. From preparing your space with the right tools and equipment to sanding, stripping, staining, varnishing, painting, and finishing touches, these steps all contribute to a successful outcome. Finally, taking preventative measures such as periodically cleaning and inspecting for any issues can help keep your wood looking fresh and new for longer. Congratulations on taking the first step towards giving your house that desired wooden upgrade and good luck with the new project!
.jpg)


