


Welcome to Sweet Softies' sixth annual Creator Challenge, featuring Betty the Butterfly! She's a pretty little mariposa designed to be a fun and beginner-friendly crochet project that you can easily customize with different color combinations, creative details, and more! If you haven't already, check out the Intro Page for rules and important information about this Creator Challenge.
For this section, we will be doing the Wing Edging & Finishing.
If you did not crochet the "Original" Wing Style and opted for the simpler version of the wings (using my Simple Wing Pattern), you can skip the "Wing Edging" section of this pattern and go straight to finishing!
Links:
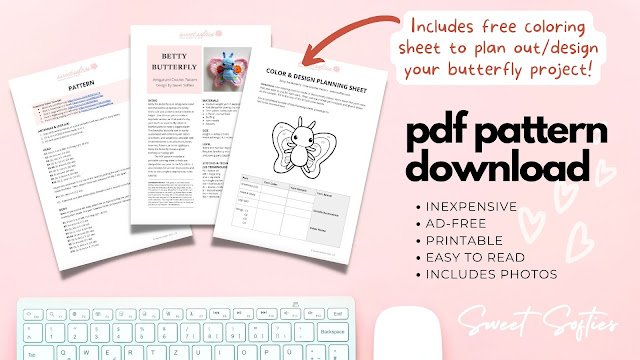
Don't want to wait for all CAL instructions? Want a printable, ad-free, and easy-to-read PDF file with modifications for crocheting with super bulky blanket or velvet yarn? If so, you can purchase the PDF file for only $1 in my store (please note that it's more expensive on Etsy due to fees associated with Etsy). Thank you for supporting Sweet Softies!
Part 4: Wing Edging & Finishing
Want the video version for this part instead? Watch it here!

WING EDGING
Note: This instruction is for the "Original" Wings. If you opted for the simpler version of the wings (using my free Simple Wing Pattern), please skip over this section and go straight to "Finishing"!
- Using the yarn tail from the right wing, sew it to the left wing. Make sure you match up the wings by counting from the ch-2 gap to the point of attachment (there should be 7 sts unworked, joined at the 8th st). Sew the two wings together with 7 sts.
- Attach C4 yarn to the top of the center strip, and insert your first sc into the right wing’s st where it is joined to the center strip.
- Sc 2, sc-inc 3, sc+hdc, hdc+dc. In the ch-2 gap: dc+ch2+dc. Dc+hdc, hdc+sc, sc-inc 3, sc 6, hdc, dc. In next st: dc2+ch2+dc2. Dc, hdc, sc 4.
At this point, you have finished the edging around the right wing. - Sc in the center strip. Sc 4, hdc, dc, dc2+ch2+dc2, dc, hdc, sc 6, sc-inc 3, sc+hdc, hdc+dc. In the ch-2 gap: dc+ch2+dc. Dc+hdc, hdc+sc, sc–inc 3, sc 4.
- FO with a long tail for sewing to the body later.
FINISHING
- If you haven’t already, attach two antennae to the head and six legs to the body. Make sure both the head and body pieces are stuffed well.
- Sew the body to the head using a yarn needle and the long yarn tail from the body.
- Position the body over the wings. Sew the two parts firmly together using a yarn needle and the long yarn tail from the wings.
YAY, CONGRATS ON FINISHING!
When you're done, please share your finished butterfly! Read the "How to Submit Entries" section below for the mandatory tags and deadline. Betty the Butterfly's Submissions & Results Page will be posted by April 15th.
Join the Community!
Participants are encouraged to share work in progress (WIP) photos in the Sweet Softies FB Group, or add your projects to Ravelry!Pattern Links
Betty the Butterfly's pattern will be FREE on my blog, but an ad-free printable PDF pattern is also available for only $1USD if you'd like to support me as a designer!
- Planning & Materials
Post Date: March 4th
- Part 1: Antennae & Head
Post Date: March 8th
- Part 2: Legs & Body
Post Date: March 11th
- Part 3: Wings
Post Date: March 15th - Part 4: Wing Edging & Finishing
Post Date: March 18th - When you're done, please share your finished butterfly! Read the "How to Submit Entries" section below for the mandatory tags and deadline. Betty the Butterfly's Submissions & Results Page will be posted by April 15th.
Want your friends to join in on this fun Creator Challenge too? The more, the merrier! Share this post and spread the joy of crocheting!
Happy crafting!

.jpg)


