


If you're looking for a cute bunny amigurumi to make for Easter, well...I've got you covered!
I know I'm way too late for Easter this year, which is kind of funny because I actually finished this amigurumi on time as an Easter gift. However, it took me THREE MONTHS to finally write up this pattern and blog post! Time management isn't my forte is all I can say...
Anyhow, I wanted to crochet a cute little bunlet that has its arms and legs tucked to fit into a perfect, snuggly position into anyone's palms. I think I achieved the look while still keeping the design simple enough with basic stitches, so that a beginner can crochet it with confidence too!

I initially made Ellie the Easter Bunny for my daughter Lena's friend, who we got to spend Easter Sunday together with! Lena really loved Ellie the moment she laid eyes on the bunny, and I was proud of her for still handing Ellie over to her friend as a gift. Lena couldn't stop talking about Ellie, though, so about a couple weeks later, I crocheted another one. Look at Lena just loving on this bunny of her own!

PDF Pattern
The PDF pattern is printable, ad-free, easy to read, includes photo references, and helps support Sweet Softies! (If you enjoy my free patterns, you can consider it as a donation to me when you buy one of my pattern PDFs! It allows me to maintain my blog and continue sharing more free patterns.)

ELLIE THE EASTER BUNNY
Free Crochet Pattern
Terms of Use & Copyright Notice © 2022 Sweet Softies (www.sweetsofties.com). You have permission to sell finished products made from this pattern, but you must credit Sweet Softies as the owner/creator of this pattern by linking to my website (www.sweetsofties.com). No wholesale. You may not translate, copy, alter, or sell my patterns in part or in whole in any way. My patterns may not be used in video tutorials or teaching online classes. My patterns may be used in teaching in-person classes ONLY with written consent from me. You may link to this pattern but you may not copy any part of the pattern instructions on other websites.
Crochet Pattern Information
Introduction
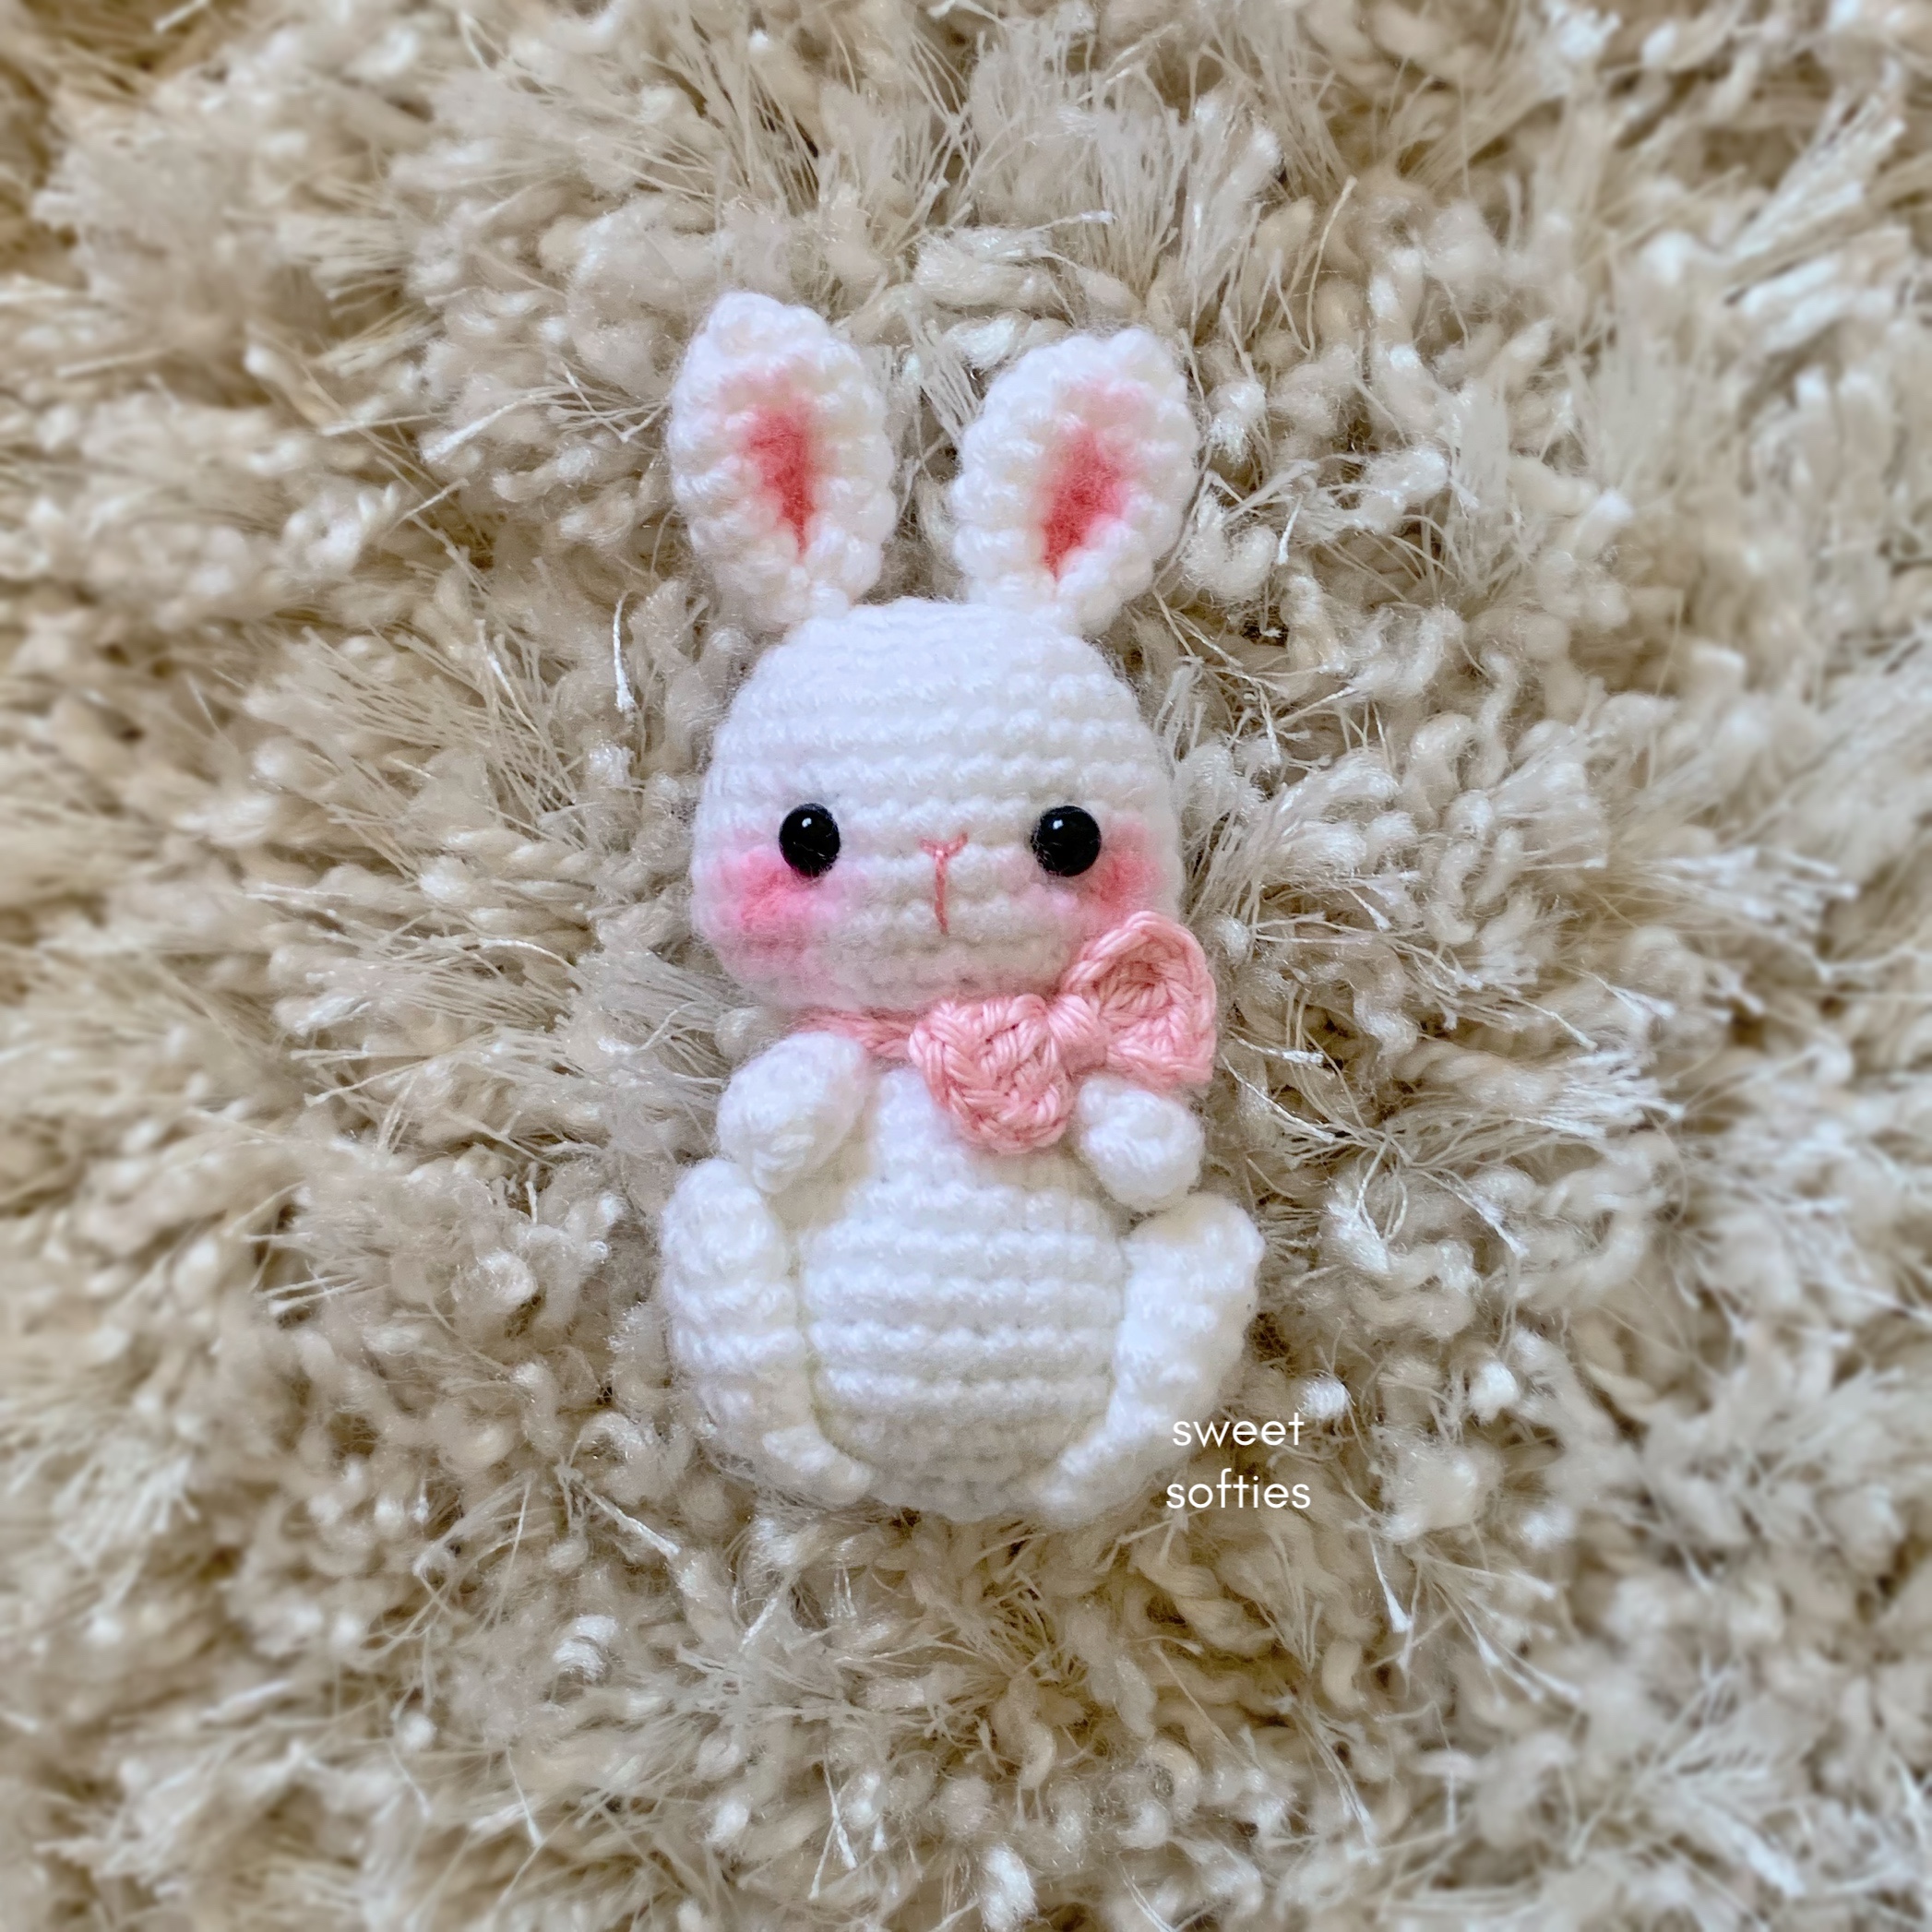
Ellie the Easter Bunny is an adorable beginner-friendly rabbit amigurumi. She works up quickly and easily using basic crochet stitches. She looks like she’s ready to snuggle and fits perfectly in your palms! Ellie makes a perfect gift for Easter, birthdays, Christmas, and other holidays and occasions. She can be customized with different yarn colors or made with velvet or chunky yarn to be extra big and plush!
Size:
Height: 5 inches (12.5 cm)
Level of Difficulty:
★★☆☆☆ Beginner/Easy. Requires familiarity with stitches used (below) and sewing parts together.
Stitches/Terms Used:
- FO = fasten off
- MR = magic ring
- ch = chain
- sl st = slip stitch
- sc = single crochet
- dc = double crochet
- inc = increase
- dec = decrease
Materials:
- Medium weight yarn in desired colors (I used white for the bunny, pink for the bow)
- 2.75mm crochet hook
- 7mm plastic safety eyes (x2)
- Stuffing
- Yarn needle
- Scissors

Crochet Instructions
EARS (x2)
R1: Insert 6 sc in MR. Pull ring tight. (6 sts)R2: (Sc, inc) x 3. (9 sts)
R3: (Sc 2, inc) x 3. (12 sts)
R4-R7: Sc around. (12 sts)
FO with a tail for sewing to the head later.
ARMS (x2)
R1: Insert 6 sc in MR. Pull ring tight. (6 sts)R2-R3: Sc around. (6 sts)
FO with a tail for sewing to the body later.
LEGS (x2)
R1: Insert 6 sc in MR. Pull ring tight. (6 sts)R2-R6: Sc around. (6 sts)
Hold the opening of the legs shut and sc across with 3 sc. Turn the piece, then dec and sc. FO with a long tail for sewing to the body. A "Legs after R6" video tutorial is available.
BOW
Strap: Make a chain of 12 to wrap around the neck.Bow: In a MR: (ch 2, insert 3 dc, ch 2, sl st) x 2. Pull ring tight. FO with a long tail for wrapping around the center of the bow.
HEAD & BODY
R1: Insert 6 sc in MR. Pull ring tight. (6 sts)R2: Inc around. (12 sts)
R3: (Sc, inc) x 6. (18 sts)
R4: (Sc 2, inc) x 6. (24 sts)
R5: (Sc 3, inc) x 6. (30 sts)
R6-R8: Sc around. (30 sts)
R9: (Sc 4, inc) x 6. (36 sts)
R10: Sc around. (36 sts)
Insert 7mm eyes between R8-R9, 6 sts apart. A "sunken eyes" video tutorial is available if you want to sculpt your amigurumi's face with a couple easy stitches.
R11: (Sc 4, dec) x 6. (30 sts)
R12: (Sc 3, dec) x 6. (24 sts)
R13: Dec around. (12 sts)
Stuff the head, and continue with the body.
R14: Inc around. (24 sts)
R15-R17: Sc around. (24 sts)
R18: (Sc 3, inc) x 6. (30 sts)
R19-R22: Sc around. (30 sts)
R23: (Sc 3, dec) x 6. (24 sts)
R24: (Sc 2, dec) x 6. (18 sts)
R25: (Sc, dec) x 6. (12 sts)
R26: Dec around. (6 sts)
FO with a tail for sewing to the head later.

Finishing & Assembly
- Use blush powder and a Q-tip to rub over the cheeks and in the center of the ears. For some guidance on this part, check out my adding blush to amigurumi tutorial.
- Pinch the bottom of the ears together to create a crease. Sew the pinched ears to the top of the head. (I positioned them over R3 of the head.)
- Sew the arms to the body. (I sewed them at a slant over R15-R16.)
- Sew the legs to the body, with the flat side on the bottom (between R24-R25) and the rounded tips going up to the sides of the arms.
- Sew the bow to the strap, and then tie the strap around the bunny’s neck.
- Using pink embroidery thread, sew a “Y” shape for the nose and mouth on the face.
Congratulations on finishing Ellie the Easter Bunny!

Thank you for reading, and hope you had a fun time crocheting this project! If you'd like to help out my blog, feel free to check out my post, "5 Ways to Support my Blog!"
You might like my other designs if you enjoyed this one! Simply click on the image below for the pattern, or check out all my free patterns here.


I'd love to see your finished work from my designs! Here are links for sharing photos of your creations:
Best wishes,

.jpg)


