


Crafting is a fantastic hobby that lets you express your creativity and artistic side. However, if it isn't organized well, it can easily become frustrating and overwhelming. Time is wasted in a messy, disorganized craft room, which also limits creativity and project completion.
We’ll offer advice and methods for home organization as a crafts enthusiast in today’s post. We'll cover everything, including how to plan a craft room, organize your materials, and keep up with maintenance. These suggestions will assist you in setting up a productive and well-organized crafting area, enhancing the enjoyment of your creative process too.
Regularly purging and decluttering your crafting supplies is key to maintaining an organized workspace. Take some time every few months to go through your supplies and tools, and get rid of anything you no longer use or need. This will not only free up space in your crafting area, but also make it easier for you to find what you need when you're working on a project.
We’ll offer advice and methods for home organization as a crafts enthusiast in today’s post. We'll cover everything, including how to plan a craft room, organize your materials, and keep up with maintenance. These suggestions will assist you in setting up a productive and well-organized crafting area, enhancing the enjoyment of your creative process too.
Designing a Craft Room
Choosing the Right Space
Choosing the ideal space is the first step in organizing a craft room. It might be a guest room, a room's corner, or even a closet. The secret is to locate a location that is specifically intended for your crafting requirements and is accessible. Think about things like size, proximity to other rooms in the house, and natural light when choosing a location. Natural light from a room near a window will make it simpler to see your supplies and complete your projects. The space should be adequate for your crafting requirements and provide enough room for comfortable movement.Storage Solutions for Crafting Supplies
Maintaining organization in your craft room requires having the appropriate storage options for your materials. For storing supplies like paper, fabric, and tools, think about using shelves, cabinets, and drawers. It is simple to see what you have and where it is when you use clear storage bins and containers. Consider the size, shape, and frequency of use of your supplies when choosing storage options. A shelf system might be the best choice if you have a lot of large, flat items, like paper. Consider using drawers with dividers if you have smaller items, like beads, to keep everything organized.Creating a Functional Work Area
It is essential for your crafting process that you have a designated workspace. Your workspace can be a desk, worktable, or even a countertop. Make sure the surface is big enough for your projects and that there is enough lighting to create the best possible environment. In order to safeguard your table surface and increase the lifespan of your cutting tools, think about adding a cutting mat to your workspace. It is simpler to stay organized when projects and to-do lists are tracked on a bulletin board or whiteboard.Adding Lighting for Optimal Crafting Conditions
For any crafting project, proper lighting is crucial. It is simpler to see your materials in a well-lit workspace, which reduces the likelihood of errors. If necessary, upgrade the lighting in your room or add a task light to your workspace. Consider installing a warm-light lamp if you work at night so you can see what you're doing without straining your eyes. You can also benefit from natural light by placing your work area close to a window. You'll be able to see your materials more clearly with the help of both natural and artificial light.Organizing Your Crafting Supplies
Categorizing and Labeling Supplies
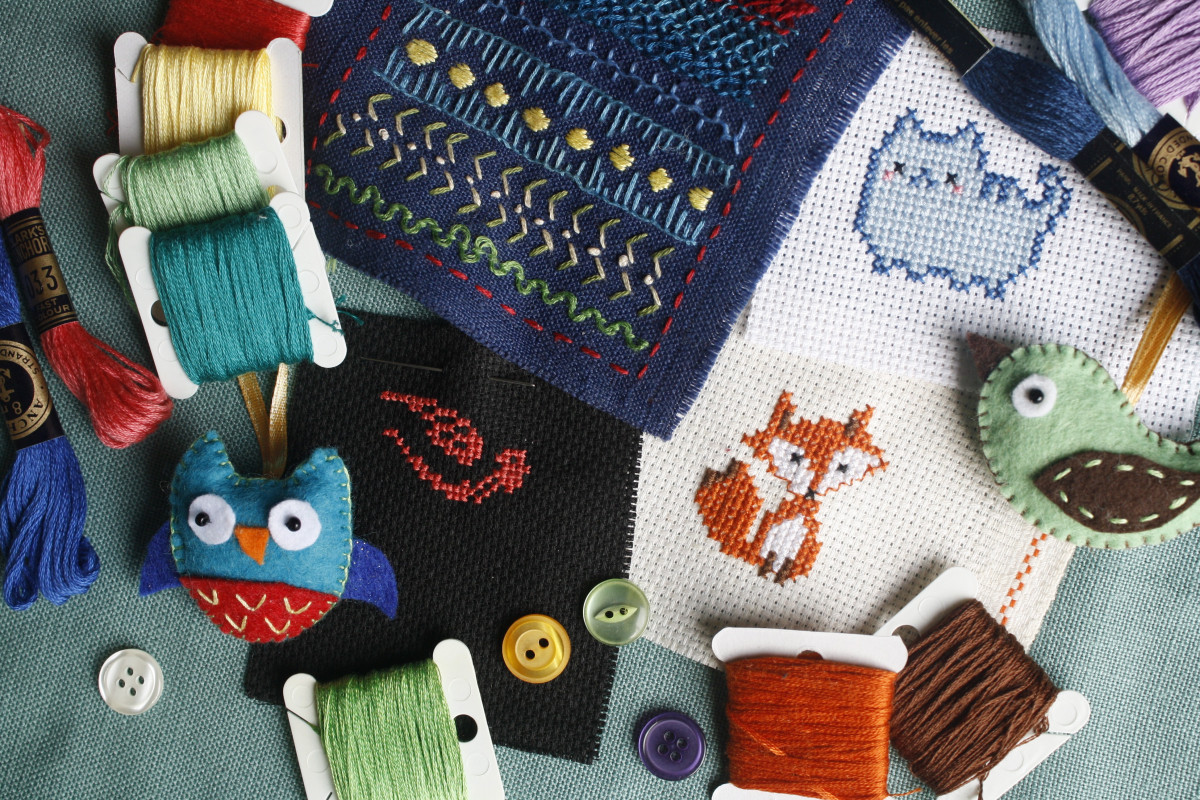
The first step in organizing your supplies is to classify and label them. This will help you keep track of your inventory and make it simpler for you to find what you need when you need it. If you have a lot of supplies, you might want to organize them by type, such as paper, fabric, or tools, or by project, like quilting, jewelry making, or scrapbooking. You can quickly identify what is inside your supplies and storage containers by labeling them, which will make it simpler for you to find what you need.Storing Supplies by Category or Project
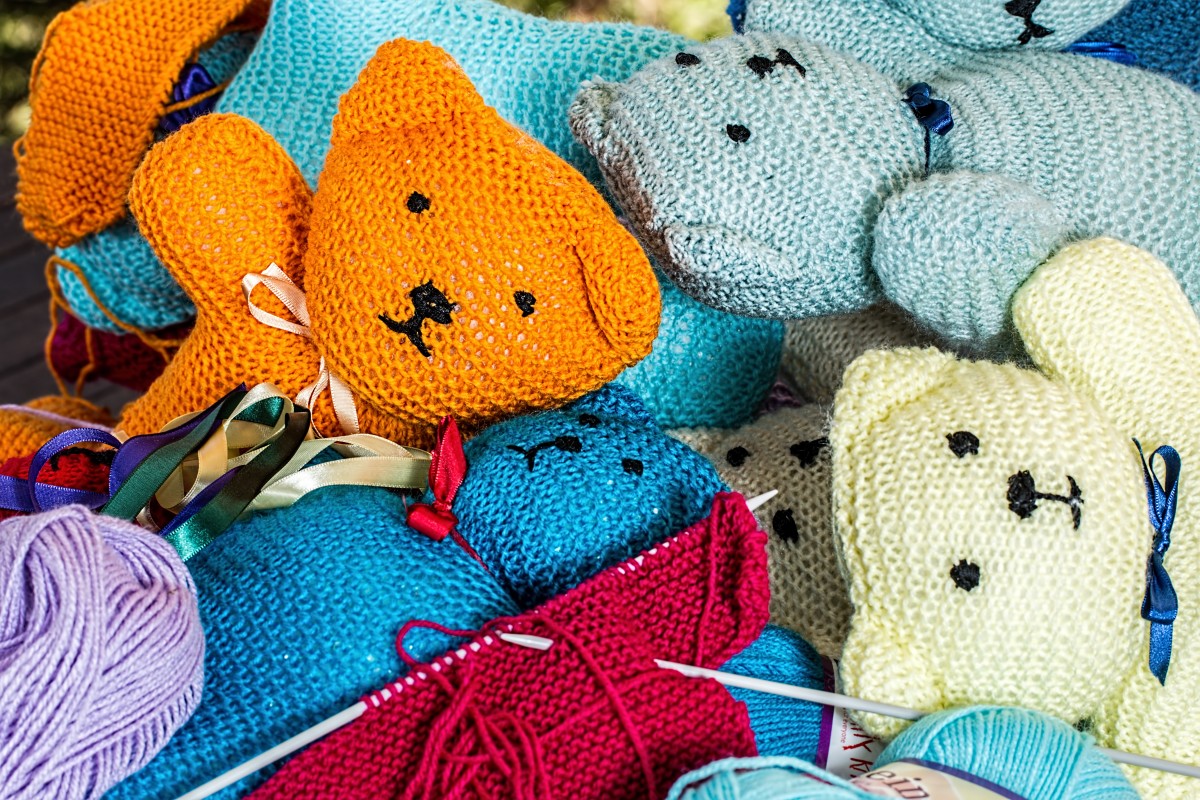
It's time to store your supplies once you've categorized them. You can stay organized and cut down on the time it takes to find what you need by organizing your supplies by category or project. Use clear storage bins, drawers, or shelving to organize your supplies so they are accessible and kept separate. To further organize your supplies and make it even simpler to find what you need, you can use drawer dividers. These yarn storage ideas should give you some ideas that you can put to use.Utilizing Wall Space for Storage
In a craft room, wall space is frequently underused, but it can be a great way to increase your storage. To organize your tools, think about using pegboards, hooks, and shelves. For small metal objects like scissors, rulers, and tacks, think about using magnetic strips. Larger objects, like rolls of fabric or paper, can also be kept on walls.Using Vertical Space to Save Room
Another way to conserve space in your craft room is to use vertical space. Think about storing your supplies in stackable storage bins or your tools in a rolling cart. You can also store your projects vertically by mounting file folders on the wall or using shelves. This will free up valuable workspace while keeping your projects organized and accessible. Consider the size and shape of your supplies when choosing vertical storage options, and pick containers and shelves that will snugly fit them.Staying on Top of Maintenance
It takes a little upkeep to keep your craft room organized. Establish a routine for regularly going through your supplies and getting rid of anything you no longer require. If you want to keep your craft room feeling new and fresh, think about rotating your materials and projects to prevent them from becoming stale. You can keep your craft room looking neat and organized by routinely dusting and wiping down surfaces.Maximizing Your Workspace
Creating a Dedicated Crafting Area
To maintain organization and make the most of your workspace, set aside a specific area for crafting. This can be a designated space in your home, a specific area of a room, or even a small table. Your projects will be easier to focus on and less likely to be interrupted if you have a designated workspace. It will also be easier to keep your tools and supplies organized.Choosing a Comfortable and Ergonomic Work Surface
For any crafter, having a cozy and ergonomic work surface is crucial. Make sure your desk or table is at a comfortable height for you to work at for extended periods of time by taking its height into consideration. Think about the material of your work surface and select one that will be sturdy, simple to maintain, and suitable for your projects.Adding Task Lighting
Any craft project requires adequate lighting, and task lighting can improve concentration and lessen eye strain. Consider enhancing your crafting space with a bright overhead light or a task lamp with adjustable brightness. This will help you keep your attention on your work and see your projects clearly.Staying Clutter-Free
Maximizing your workspace requires keeping your crafting area clutter-free. To temporarily store items, think about using a basket or bin. Regularly go through your supplies and tools to get rid of anything you don't need. To keep things like pens, markers, and small tools within reach and to keep your workspace looking organized, you can also use small organizers and trays.Regularly purging and decluttering your crafting supplies is key to maintaining an organized workspace. Take some time every few months to go through your supplies and tools, and get rid of anything you no longer use or need. This will not only free up space in your crafting area, but also make it easier for you to find what you need when you're working on a project.
.jpg)


