


To learn this special stitch and technique, please take a look at the video or written instructions below. I break down the steps and walk through it, so that it's hopefully easy to understand and master.
Written Instructions
First, you'll need to set up the i-cord.
Ch 3. Insert hook into 2nd ch from hook, YO, pull up a loop, insert hook into next ch, YO, and pull up a loop. (3 loops on hook)
R1: Drop 2 loops from hook, but hold onto them tightly with your non-hook hand so that they do not come undone. YO, pull through loop on hook. Insert hook into first dropped loop, YO, pull through. (2 loops on hook.) Insert hook into second dropped loop, YO, and pull through. (3 loops on hook)
R2 and beyond: Continue by repeating R1 until you reach the desired length!
Note: To change colors, simply start a new row with a new yarn color.
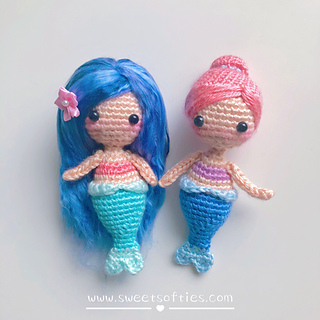
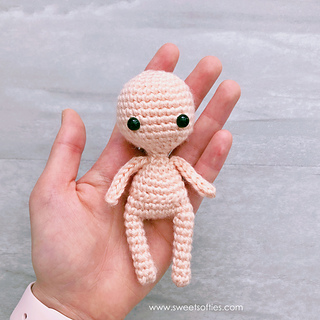
Finished Products Using the i-Cord
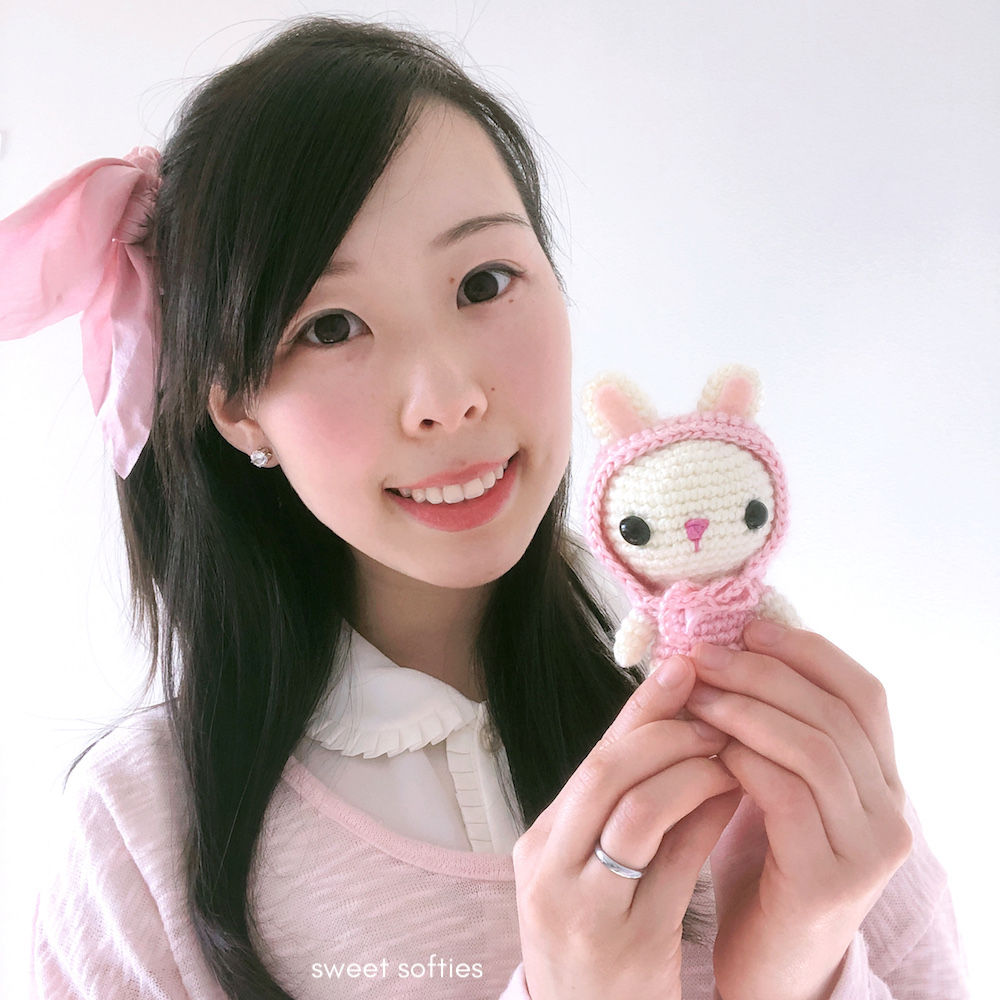
My dolls, Little Red Pandora and Hana, both have long and flexible arms made using the i-cord technique.


For FREE patterns using the i-cord, feel free to check out:


.jpg)

.jpg)