We live in a visual world, and capturing your handmade creations well can make all the difference when it comes to crochet photography tips. Good photography is key for showcasing the texture and craftsmanship of your pieces, whether you're sharing on social media, building a portfolio, or selling your work online.
Photographing crochet items can feel challenging at first, I know. Finding the right light, choosing backgrounds, and capturing multiple angles all require practice. I'll walk you through everything you need to master crochet photography in this piece, from lighting basics and shooting techniques to developing your unique style when photographing crochet. You'll have practical strategies to make your handmade work shine by the end.
Preparing for Your Crochet Photo Shoot
Proper preparation sets the stage for success before you start snapping photos. Getting these basics right saves time and frustration later.
Clean your lens before you start
Your camera lens quality affects photo clarity directly. The lens has probably been rolling around in your bag or pocket if you're using your phone to photograph crochet. A fingerprint or smudge creates a hazy overlay on your images and ruins otherwise perfect shots. I've finished entire photo sessions only to find every image had a blur from a dirty lens.
Take a moment to
wipe the lens with a clean microfiber cloth before you begin. This simple step will give sharp, professional-looking photos.
Gather your props and materials
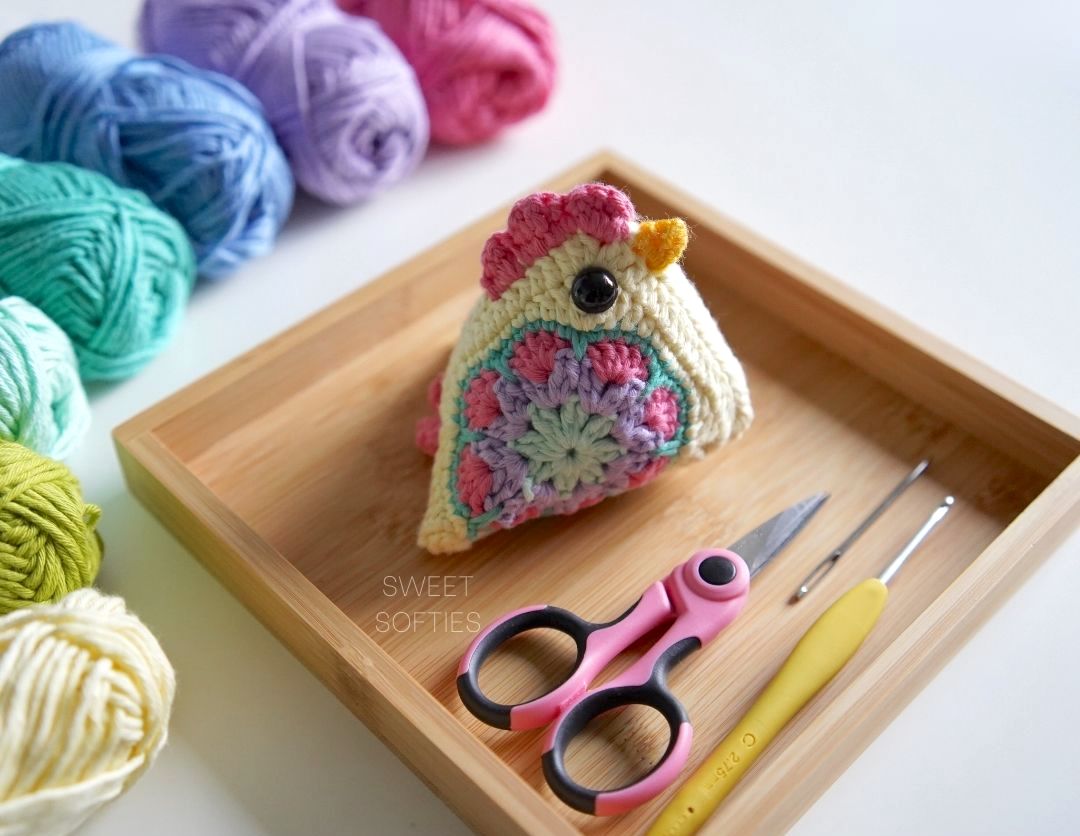
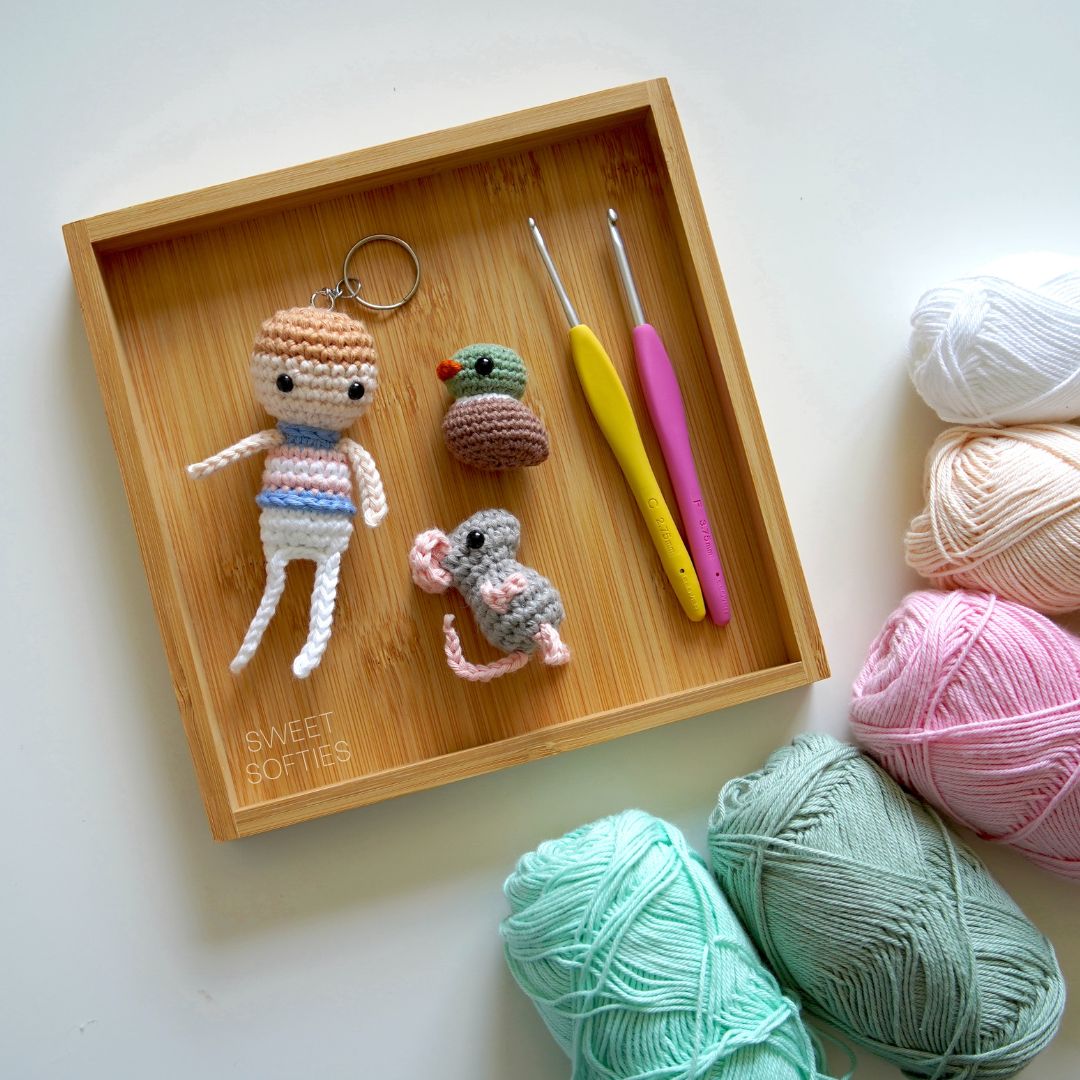
Props add visual interest and dimension to crochet photography, but they should never overshadow your handmade work. I keep baskets, plants, beads, and pretty crochet hooks handy for staging. Thrift stores are a great way to get amazing finds at low prices. You can find wooden trays, vintage coffee mugs, cheese boards, and baskets in excellent condition for just a few dollars at Goodwill.
Think about switching your regular hook for a more esthetically pleasing one in photos. Stitch markers, embroidery thread, tape measures, and scissors also photograph well. Look around your home first before buying anything. Fresh or dried flowers, candles, mugs, and notepads work beautifully. Keep props minimal and relevant to your piece. Remove some items if your staging starts looking overcrowded.
Find your ideal shooting location
Your shooting location makes or breaks your photos. Look for a space near a window that's clear of clutter, which can absorb light or cast unwanted shadows. White reflects light, so white walls, tables, or curtains create an ideal photography space.
I often photograph near my front door in front of a plain wall section, where frosted glass panels provide nice side lighting. Corners work well too and add depth with interesting shadows. Try different spots around your home until you find what works. Embrace that quality rather than fighting it if indoor spaces feel too dark. Take your photos outside in a shaded area instead.
Think about your photo's purpose and audience
Why you're taking photos shapes your approach. Ask yourself with every click: who is this for and what do I want to communicate? You're more likely to get the result you want when you're aware of your goal, whether you're selling handmade crafts, sharing on social media, or creating pattern documentation. This awareness helps you make better decisions about styling, angles, and composition. Commercial images may eventually appear on product pages, advertisements, packaging, or social media, so agreements with professional photographers should
outline usage rights for photos and identify the specific images and formats they will deliver
Light and Background Essentials
Lighting determines whether your crochet photography succeeds or falls flat. Natural light brings out the true colors of yarn better than artificial sources.
Working with natural light near windows
A large window gives you maximum light quality. In the Northern Hemisphere,
north-facing windows provide consistent,
soft light throughout the day. South-facing windows deliver very sunny, harsh light with strong shadows. Both work depending on the mood you want. East and west-facing windows have the most variable light changes as the sun moves.
Window light creates two types: direct light and bounced light. Direct light falls onto the floor and creates hard lines. This makes proper exposure difficult because you must choose between very bright and very dark portions. Bounced light comes through a window after reflecting off light surfaces, which photographers prefer. Get as close to the window as possible for maximum light. Overcast days work well for indoor and outdoor photos. They provide even illumination without harsh shadows.
Using white and neutral backgrounds
White backgrounds reflect light onto your crochet work and produce evenly lit photos. This standard choice provides a clean foundation that won't distract from your pieces or cast unwanted color onto images. White photography paper comes in several sizes. You can also make an affordable backdrop using poster board or foam board. Brown mailing paper from dollar stores works well for larger projects.
Creating depth without distractions
Clear your frame of clutter so your handmade work remains the focal point. Solid color paper works best to showcase details without competing patterns.
Managing shadows the right way
A
white foam board positioned opposite your light source can
bounce light into shadow areas. The reflector should be 6 to 12 inches from your crochet piece. Adjust the distance to control shadow intensity. This simple reflector transforms harsh shadows into soft, professional-looking definition.
Capturing Your Crochet Work
Your lighting and background are ready. Now you need specific shooting techniques to capture strong images.
Get close instead of zooming
Move closer to what you're photographing instead of zooming in by pinching your screen. Digital zoom can produce
grainy, blurry, or pixelated smartphone photos, so move closer when possible or use an optical zoom setting if your phone offers one. Physical proximity maintains sharpness. You can always crop tighter later, but you can't widen a shot that's already zoomed. Physical closeness also changes point of view and makes objects appear more three-dimensional compared to zooming from a distance.
Experiment with multiple poses and positions
I drape projects over chair arms or couches, fold them, hang them over baskets, or lay them flat. I keep a checklist on my phone of all the poses I want to capture on photoshoot days. Not every position works for every item, but variety gives you options. Take pictures from different angles and show the front, back, and sides of your crochet work. Larger pieces like afghans need different treatment. Try rolling or draping them over furniture, or stand on a ladder to get overhead shots.
Use portrait mode to blur backgrounds
Portrait mode keeps your crochet project in focus and blurs the background. This draws the eye to your work. Adjust your exposure settings to control how bright your photo appears. This technique works on both smartphones and DSLR cameras. It creates professional-looking depth.
Take lots of photos to get better results
I take about 60-100 pictures of each project before choosing the best 2-3 beauty shots. More photos increase your chances of capturing that perfect image. Shoot multiple variations and delete what doesn't work later.
Keep your hands steady or use a tripod
Lean your elbow on a nearby object if you have shaky hands, even your knee. A
tripod reduces unwanted camera shake and helps you capture balanced, level shots, although subject movement or incorrect focus can still produce blur.. Rest your arm on a stable surface or use your timer setting. This helps get cleaner shots without a tripod.
Developing Your Unique Photography Style
Your photography style distinguishes your work from others. Two main approaches exist for photographing crochet items.
Clean photography approach
Minimalist photography strips subjects down to their most elegant essence. This style uses clean backgrounds, negative space and well-defined subjects to tell stories. White space highlights what you want viewers to notice most. Wide apertures can create a
shallow depth of field, helping blur the background and isolate your crochet work.. Limiting your color palette to two or three complementary colors improves visual appeal.
Eclectic storytelling style
A storytelling approach creates context and mood for your crochet pieces. You form a connection about what it can do or how it improves a lifestyle rather than just showing a product. Use color and composition to tell stories that appeal to your audience. Show your product in use or in settings that make sense.
Finding what works for your crochet items
I use the same basket for almost all my blanket photos. This gives my photography consistency. Find your style through editing techniques and filters. Continue editing each photo the same way. Maintain a cohesive visual identity across images.
Practice and experimentation
Set specific goals for what you want to improve. Plan practice sessions with subjects, times and places to shoot. Review your shots to identify consistent mistakes and research corrections. Try new ideas, fresh props and different angles.
Having fun with the creative process
Photography may become one of your favorite aspects of your crochet trip. Laugh, pull silly faces, move around and use whatever props you have. Don't take it too seriously and just enjoy yourself.
Conclusion
Great crochet photography starts with the fundamentals: natural light and clean backgrounds. You need to understand these core elements first. Then experiment with different styles until you find what showcases your handmade work best. Note that practice makes perfect, so take lots of photos and don't be afraid to try new approaches. Have fun with the creative process. Your unique photography style will develop as you continue shooting and sharing your beautiful crochet creations.



.jpg)


