


Introduction
Resin art has exploded in popularity in recent years. The glossy, smooth finish of resin lends itself beautifully to everything from jewelry to decorative pieces. While freeforming resin can allow for stunning abstract designs, using molds opens up even more possibilities. You can recreate almost any shape imaginable with resin molds. Learning how to make resin art with molds unlocks a world of unique DIY home decor options.Getting Started with Resin Art
When working with resin, you'll need to take safety precautions. Wear gloves and work in a well-ventilated area. Resin gives off fumes as it cures which can cause headaches and nausea if inhaled for too long.You'll also need to have the right supplies on hand:
- Resin - A high quality epoxy resin works best. Polyester resin also works, but epoxy is preferred for its clarity and strength.
- Molds - Choose the right type of mold depending on your project.
- Mixing containers - Disposable plastic cups or silicone mixing bowls work well.
- Stir sticks - Wooden popsicle sticks or bamboo skewers are ideal.
- Coloring agents - Dyes, pigments, mica powders, and alcohol inks can all add color.
- Decorative inclusions - Glitter, shells, dried flowers, etc. to embed in the resin.
- Plastic pipettes - For adding very small amounts of color.
- Blow torch - For popping air bubbles.
- Sandpaper - For smoothing any rough edges after demolding.
Choosing the Right Resin Molds
Resin molds come in an endless array of shapes, textures, and materials. Silicone, plastic, glass, wood, and metal molds are some of the most flexible and easy to use molds. Consider the finished size and shape you'd like, as well as whether you want a smooth or textured surface. You can get yourself a wide range of unique resin molds on Istoyo at a very affordable price.For decorative items, look for beveled edges,convex shapes, or creative textures. Abstract resin wall art often uses angular rectangle or square silicone molds. Jewelry favors metal molds for ring bands and gem settings.
Mixing and Pouring the Resin
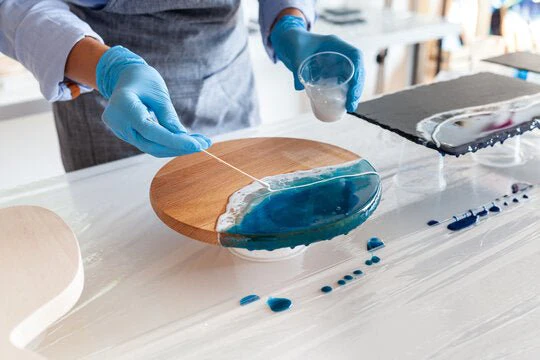
Follow all safety directions when mixing resin, as improper ratios can prevent curing. Mix resin and hardener according to package directions, generally a 1:1 ratio by volume. Stir slowly for 2-3 minutes, scraping the sides and bottom to fully incorporate.Mix in any colorants or inclusions, then slowly pour the resin into your mold. Tap the mold gently on a hard surface to dislodge any bubbles. Use a lighter or blowtorch to pop surface bubbles by passing quickly back and forth over the surface about 6 inches above.
Allow the resin to fully cure per package directions, usually 24-48 hours. Room temperature of about 70°F is ideal - warmer temperatures speed up cure time while cooler temps slow it down.
Demolding and Finishing Resin Pieces
Once fully cured, flexing and wiggling the mold gently helps separate the resin piece. Silicone molds make this much easier. You may need to press on edges or insert a pallet knife. Be patient and go slowly to avoid damaging the artwork when demolding resin.Use very fine grit sandpaper to smooth any rough edges. Buff with a polishing pad for glossy shine. If desired, apply a sealant like polishing wax or epoxy resin top coat for added protection and luster. Show off your unique creation!
Creative Resin Art Techniques
Making resin art with molds opens up a world of possibilities. Here are a few techniques to try:Embedding Objects:
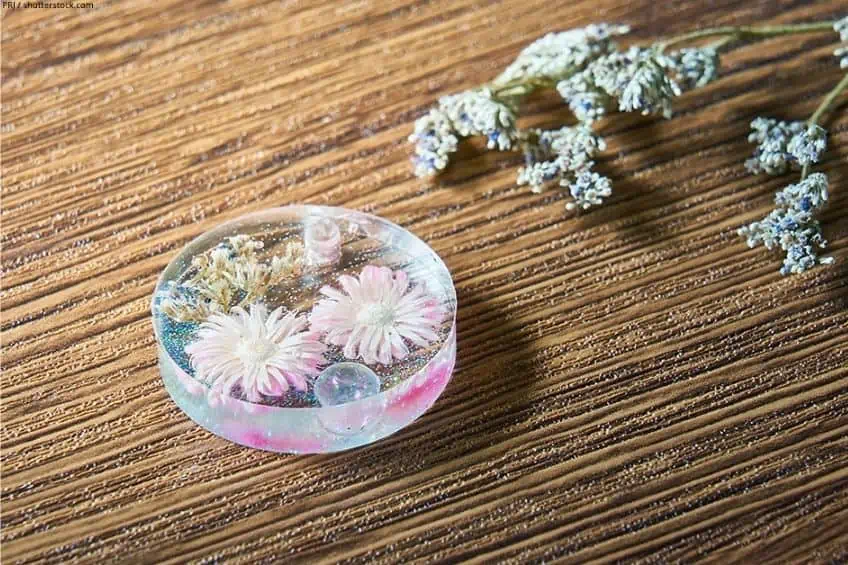
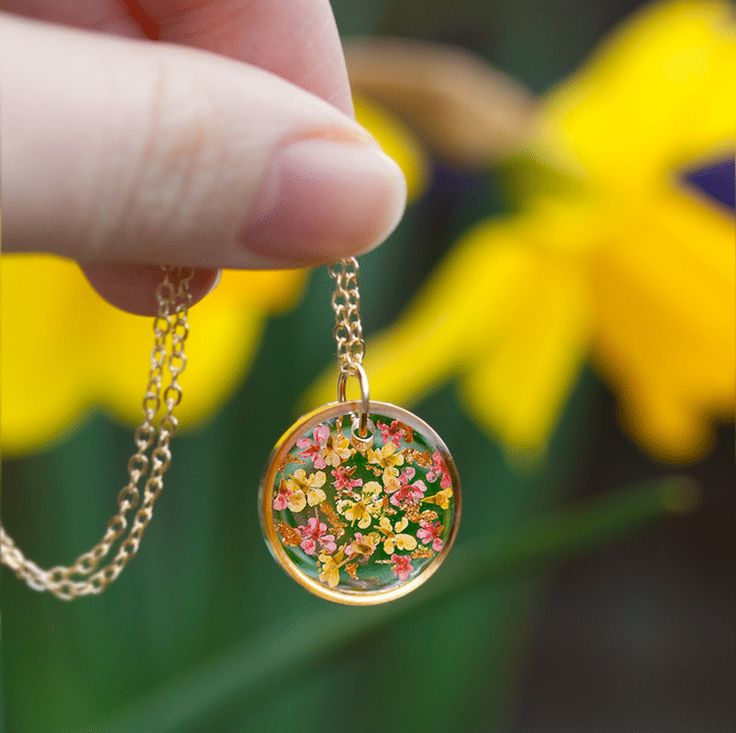
This technique adds visual interest and dimension to resin pieces. Press dried flowers, leaves, butterflies, seashells, and other flat objects into the resin before it cures. Coat with a thin layer to encase entirely. You can also suspend small 3D objects like coins, miniature figurines, plastic toys, or photos halfway into the resin so part is visible. The objects seem to float within the clear resin. Use silicone molds for best results revealing intricate details.
Layering Colors:
Layering colored resin pours creates depth. First coat the bottom with one color, let it cure until tacky, then pour the next color. Repeat for as many layers as desired. You can also pour stripes or swirls of two colors at once, then use a toothpick to gently swirl them into patterns like marble. Work quickly before resin cures. Silicone molds work best for flexible demolding of layered pieces.
Faux Stained Glass:
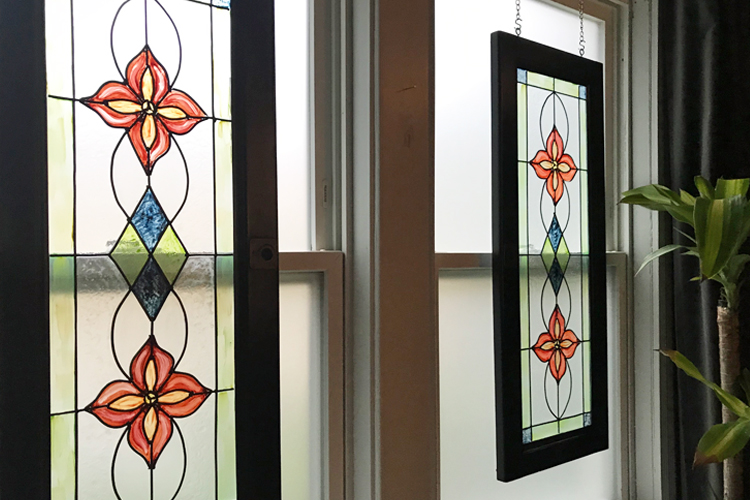
For the look of stained glass, pour clear resin halfway into a mold. Lay colored tissue paper or cellophane on top, then cover with more resin. Allow bubbles to escape before resin fully cures. The colored paper creates a translucent stained glass effect once set. Use a dome mold for faux window panels.
Faux Geode:
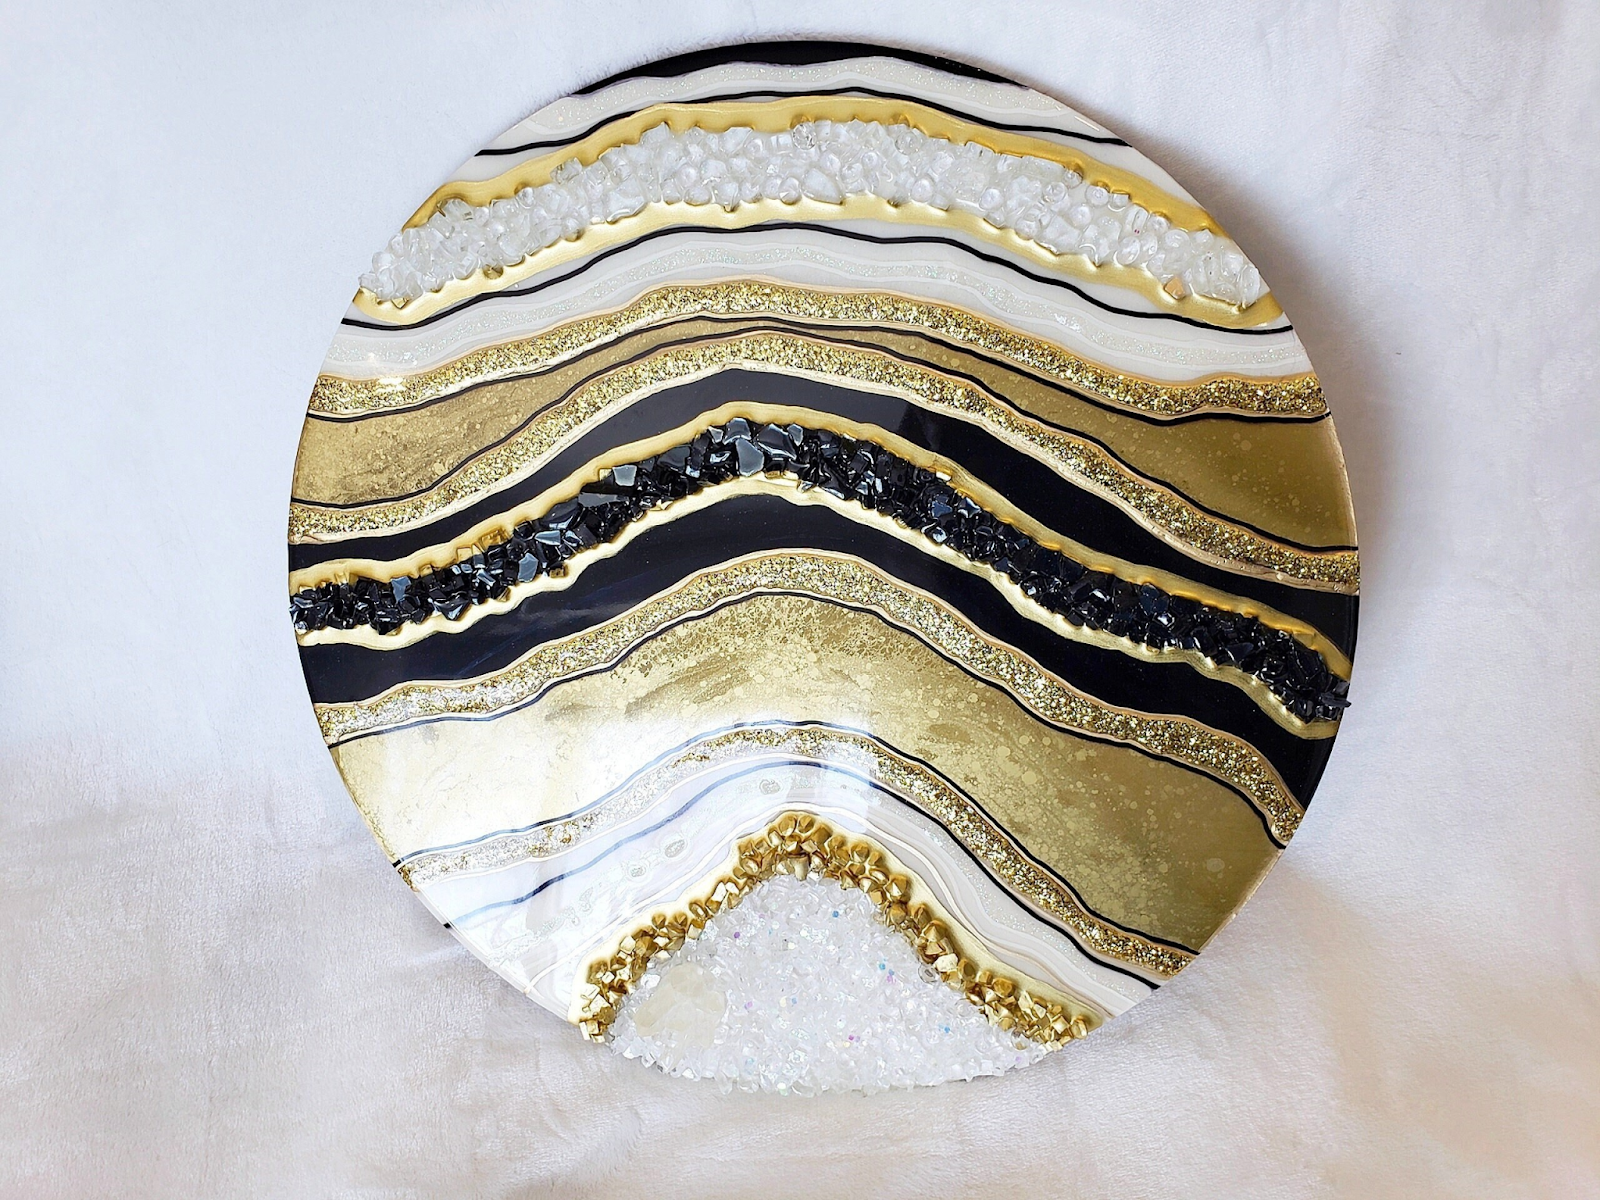
Geode designs form naturally as colored resin cures. First, coat the bottom of a dome mold with a thin layer of colored resin. Pour in clear resin, then tap the mold firmly to force air bubbles to the surface. The bubbles create round formations reminiscent of geodes as the resin hardens. Use metallic colors like copper or gold for a natural look.
Detailed Jewelry:
For stunning jewelry pieces, use two-part platinum silicone molds designed specifically for resin. These molds replicate details precisely for professional results. First, mix colored resin and pour into one half of the mold cavities. Let it cure completely.
Mix a second batch of differently colored resin and fill the other mold halves. Once fully cured, open the molds and join the halves together (for rings, wrap the band around to fuse the ends together). The resin pieces pop out of the flexible molds easily.
This technique is perfect for vibrant bangles, ornate rings, geometric pendants, intricate earrings, and more. You can also suspend small beads, glitter, or crushed gems inside the resin to accent the designs. Precision jewelry molds allow you to create sophisticated resin jewelry right at home.
.jpg)


