


Looking for a cute but super quick and easy crochet project for Easter? You'll love my newest, FREE amigurumi design!
Meet the Plumpy Bunny!
This is a quick, easy, and low-sew amigurumi rabbit that is designed using plush yarn. With this crochet pattern, you can whip up a tiny little bunny that's about 3.5" in length!
Uses
The Plumpy Bunny makes an adorable keychain or mini desk buddy. You can also put it into large plastic Easter eggs as a non-candy Easter egg stuffer!
Other than Easter, this Plumpy Bunny is a great last-minute gift to make for other occasions. Some ideas include a Christmas stocking stuffer, spring or summer craft fair product (perfect quick make for market prep!), party favors for a bunny-themed birthday, or class Valentine's Day gifts!

Printables
I made some fun and FREE printables for this bunny, including an "Adoption Certificate" card and a set of Valentine's Day Gift Tags!
Bunny Adoption Certificate
The Adoption Certificate is available as a full size page, or as smaller "cards" with four on a page. I like having the mini cards option because it saves paper, and these mini certificates are cute and perfectly sized for a mini bunny! They'd be well-suited to prep for parties for kids to pick and adopt their very own sweet bunny! Place a colorful variety of amigurumi bunnies in a basket of fake grass, with a small stack of the adoption certificates beside it and some colorful pens or makers to write with! It makes the perfect party favor station for birthday parties!
Valentine's Day Gift Tags
The Valentine's Day gift tags is a multi-colored set of 6 tags with adorable bunny-themed graphics and punny messages. Just print them out on cardstock paper, cut them out, punch a hole through the top, and string them to the crochet Plumpy Bunny!
Ready to download them? Sign up below and you'll be redirected to the printable PDF!
Recommended Yarn
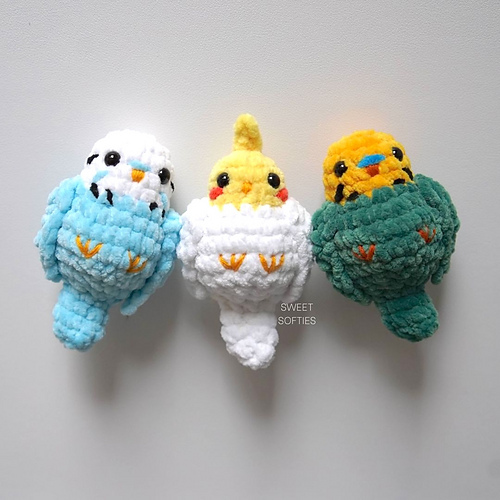
This adorable amigurumi is designed with Posh Twist yarn, which is a super plush and soft bulky weight 5 yarn. It works up fast and produces generously-sized amigurumis with fewer stitches compared to thinner yarns!
While this pattern is designed with plush yarn for that plush, squishy look, it also works great with cotton or acrylic yarns if that’s what you have on hand. Your bunny will just end up smaller, but they'll be the perfect size for a little keychain, hanging ornament, or bag charm!

PDF Pattern
The PDF pattern is printable, ad-free, easy to read, contains helpful photo references, and helps support Sweet Softies! (If you enjoy my free patterns, you can consider it as a donation to me when you buy one of my pattern PDFs! It allows me to maintain my blog and continue sharing more free patterns.)
It also includes printable Adoption Certificate + Valentine's Day Gift Tags!
.jpg)
PLUMPY BUNNY
Free Amigurumi Crochet Pattern
Terms of Use & Copyright Notice © 2026 Sweet Softies (www.sweetsofties.com). You have permission to sell finished products made from this pattern, but you must credit Sweet Softies as the owner/creator of this pattern by linking to my website (www.sweetsofties.com). No wholesale. You may not translate, copy, alter, or sell my patterns in part or in whole in any way. My patterns may not be used in video tutorials or teaching online classes. My patterns may be used in teaching in-person classes ONLY with written consent from me. You may link to this pattern but you may not copy any part of the pattern instructions on other websites.
.jpg)
Pattern Info
Size:
Height: 2.5”
Length: 3.5”
Length: 3.5”
Level of Difficulty:
★★☆☆☆ Beginner/Easy. Requires familiarity with stitches used (below) and changing yarn colors.Stitches/Terms Used:
- FO = fasten off
- YO = yarn over
- ch = chain
- sl st = slip stitch
- sc = single crochet
- fsc = foundation single crochet
- inc = increase (insert 2 sc in same st)
- dec = decrease (sc 2 sts together)
- FLO = front loops only
Materials:
- Super bulky weight 5 chenille velvet yarn in the colors beige and white (I used Posh Twist yarn)
- 5mm crochet hook (I use these)
- 10mm plastic safety eyes (I use these)
- Fiberfill stuffing
- Yarn needle
- Scissors
Crochet Instructions
Notes:
- The free version of the pattern comes is written only and does not include photo references. If you'd like an ad-free printable version of the written pattern with photo references, please download the low-cost PDF pattern.
- Construction: The doll is worked from front (head) to back (body). The tail and legs are crocheted onto the body using no-sew methods. Lastly, the ears are crocheted separately and sewn to the head.
- A video tutorial is available. See the "Video Tutorial" section below for it!
Part 1: Head & Body
Start with beige yarn.R1: Ch 2. Insert 8 sc in the 2nd ch from hook. (8)
R2: Inc around. (16)
R3-R4: Sc around. (16)
R5: Sc 5, dec 2, sc 5, inc 2 in front loops. (16)
R6: Inc 2 in front loops, sc 3, dec 2. Switch to white yarn. Sc 5, inc 2. (18)
R7: Inc 2, sc 4, dec 2, sc 8. (18)
Insert 10mm (or 12mm) eyes between R3-R4, on opposite sides of the head. (Watch where the curve of the chest is before placing eyes. The decreases are at the top of the head and increases/starts of the round are at the bottom of the neck.)
R8: Sc 8, inc 2 in FLO. Switch to beige yarn. Sc 8. (20)
R9-R10: Sc around. (20)
R11: Sc 8, dec 2, sc 8. (18)
R12: Sc 7, dec 2, sc 7. (16)
Stuff the head and body well.
R13: Dec around. (8)
FO with a long tail for sewing the opening closed later.
Tip: Sew the opening closed after the tail and legs are complete, so that ends could more easily be woven in.
Part 2: Tail
- Insert hook under two sts between R12-R13. Attach white yarn.
- (YO, insert hook, YO, pull through a loop) x 3. YO and pull through all 7 loops on the hook. Ch, then sl st back into the same st.
- FO with a long tail for pulling back into the st. Weave in all ends.
Part 3: Legs (x4)
- Insert hook under a st between R7-R8 for a front leg, and R11-R12 for a back leg. Attach beige yarn.
- (YO, insert hook, YO, pull through a loop) x 3. YO and pull through all 7 loops on the hook. Ch, then sl st back into the same st.
- FO with a long tail for pulling back into the st.
- Repeat steps 1-3 for the remaining legs.
Part 4: Ears (x2)
- Using beige yarn, fsc 5. (Click here for a FSC video tutorial.) Insert 2 more sc in the foundation of the last fsc. This will bring you to the other side, allowing you to work on the foundation portion of the fsc. Sc 3. Sl st in the last st. FO with a long tail for sewing.
- Sew the ear to R5-R6.
- Repeat steps 1-2 for the second ear.
Part 5: Finishing
- Sew the opening of the body (R13) closed.
- Sew the ears to R5 of the Head.
- Weave in all ends.


Video Tutorial
Want to crochet along with me? My beginner-friendly video tutorial will guide you through every step of the pattern!
Want to share your finished Plumpy Bunny?
I'd love to see what you make on Instagram, @SweetSofties!
Thank you for reading, and hope you had a fun time crocheting this project! If you'd like to help out my blog, feel free to check out my post, "5 Ways to Support my Blog!"
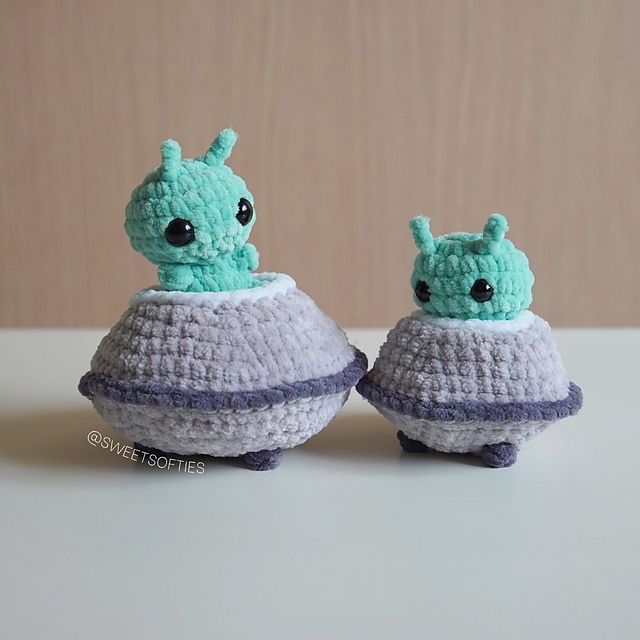
You might like my other designs if you enjoyed this one! Simply click on the image below for the pattern, or check out all my free patterns here.
I'd love to see your finished work from my designs! Here are links for sharing photos of your creations:
Best wishes,

Disclosure: This post may contain affiliate links, meaning I get a commission if you decide to make a purchase through my links, at no cost to you.
.jpg)


