


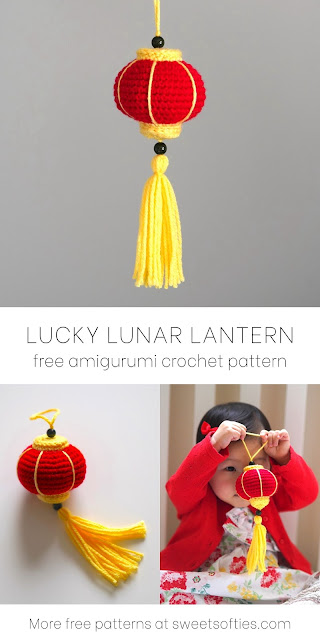
Lunar New Year is right around the corner!
To celebrate, I indulged in my love for yarny crafts and designed a crocheted version of a lantern. Say hi to the Lucky Lunar Lantern! I am sharing it for free on my blog for those of you who would like to make one too. This year, Lunar New Year is on February 1st, so you have plenty of time to whip up this quick and easy amigurumi!
If you're wondering what red lanterns have to do with Lunar New Year, let me share a bit of context as to why they're such a bold and prominent symbol for this holiday. In Chinese culture, red is an auspicious color, because it's the symbol for wealth, fame, and prosperity. They're often embellished with golden details, such as trims, tassels, or writing. Red lanterns are used to celebrate occasions of joy and harmony, and are said to be lucky charms during Chinese New Year, as they bring fortune and good blessings.
Anyhow, if you'd like to make one of these cute lanterns and put it up as decor in your home to bring on the good luck, simply scroll down to find the free pattern instructions!
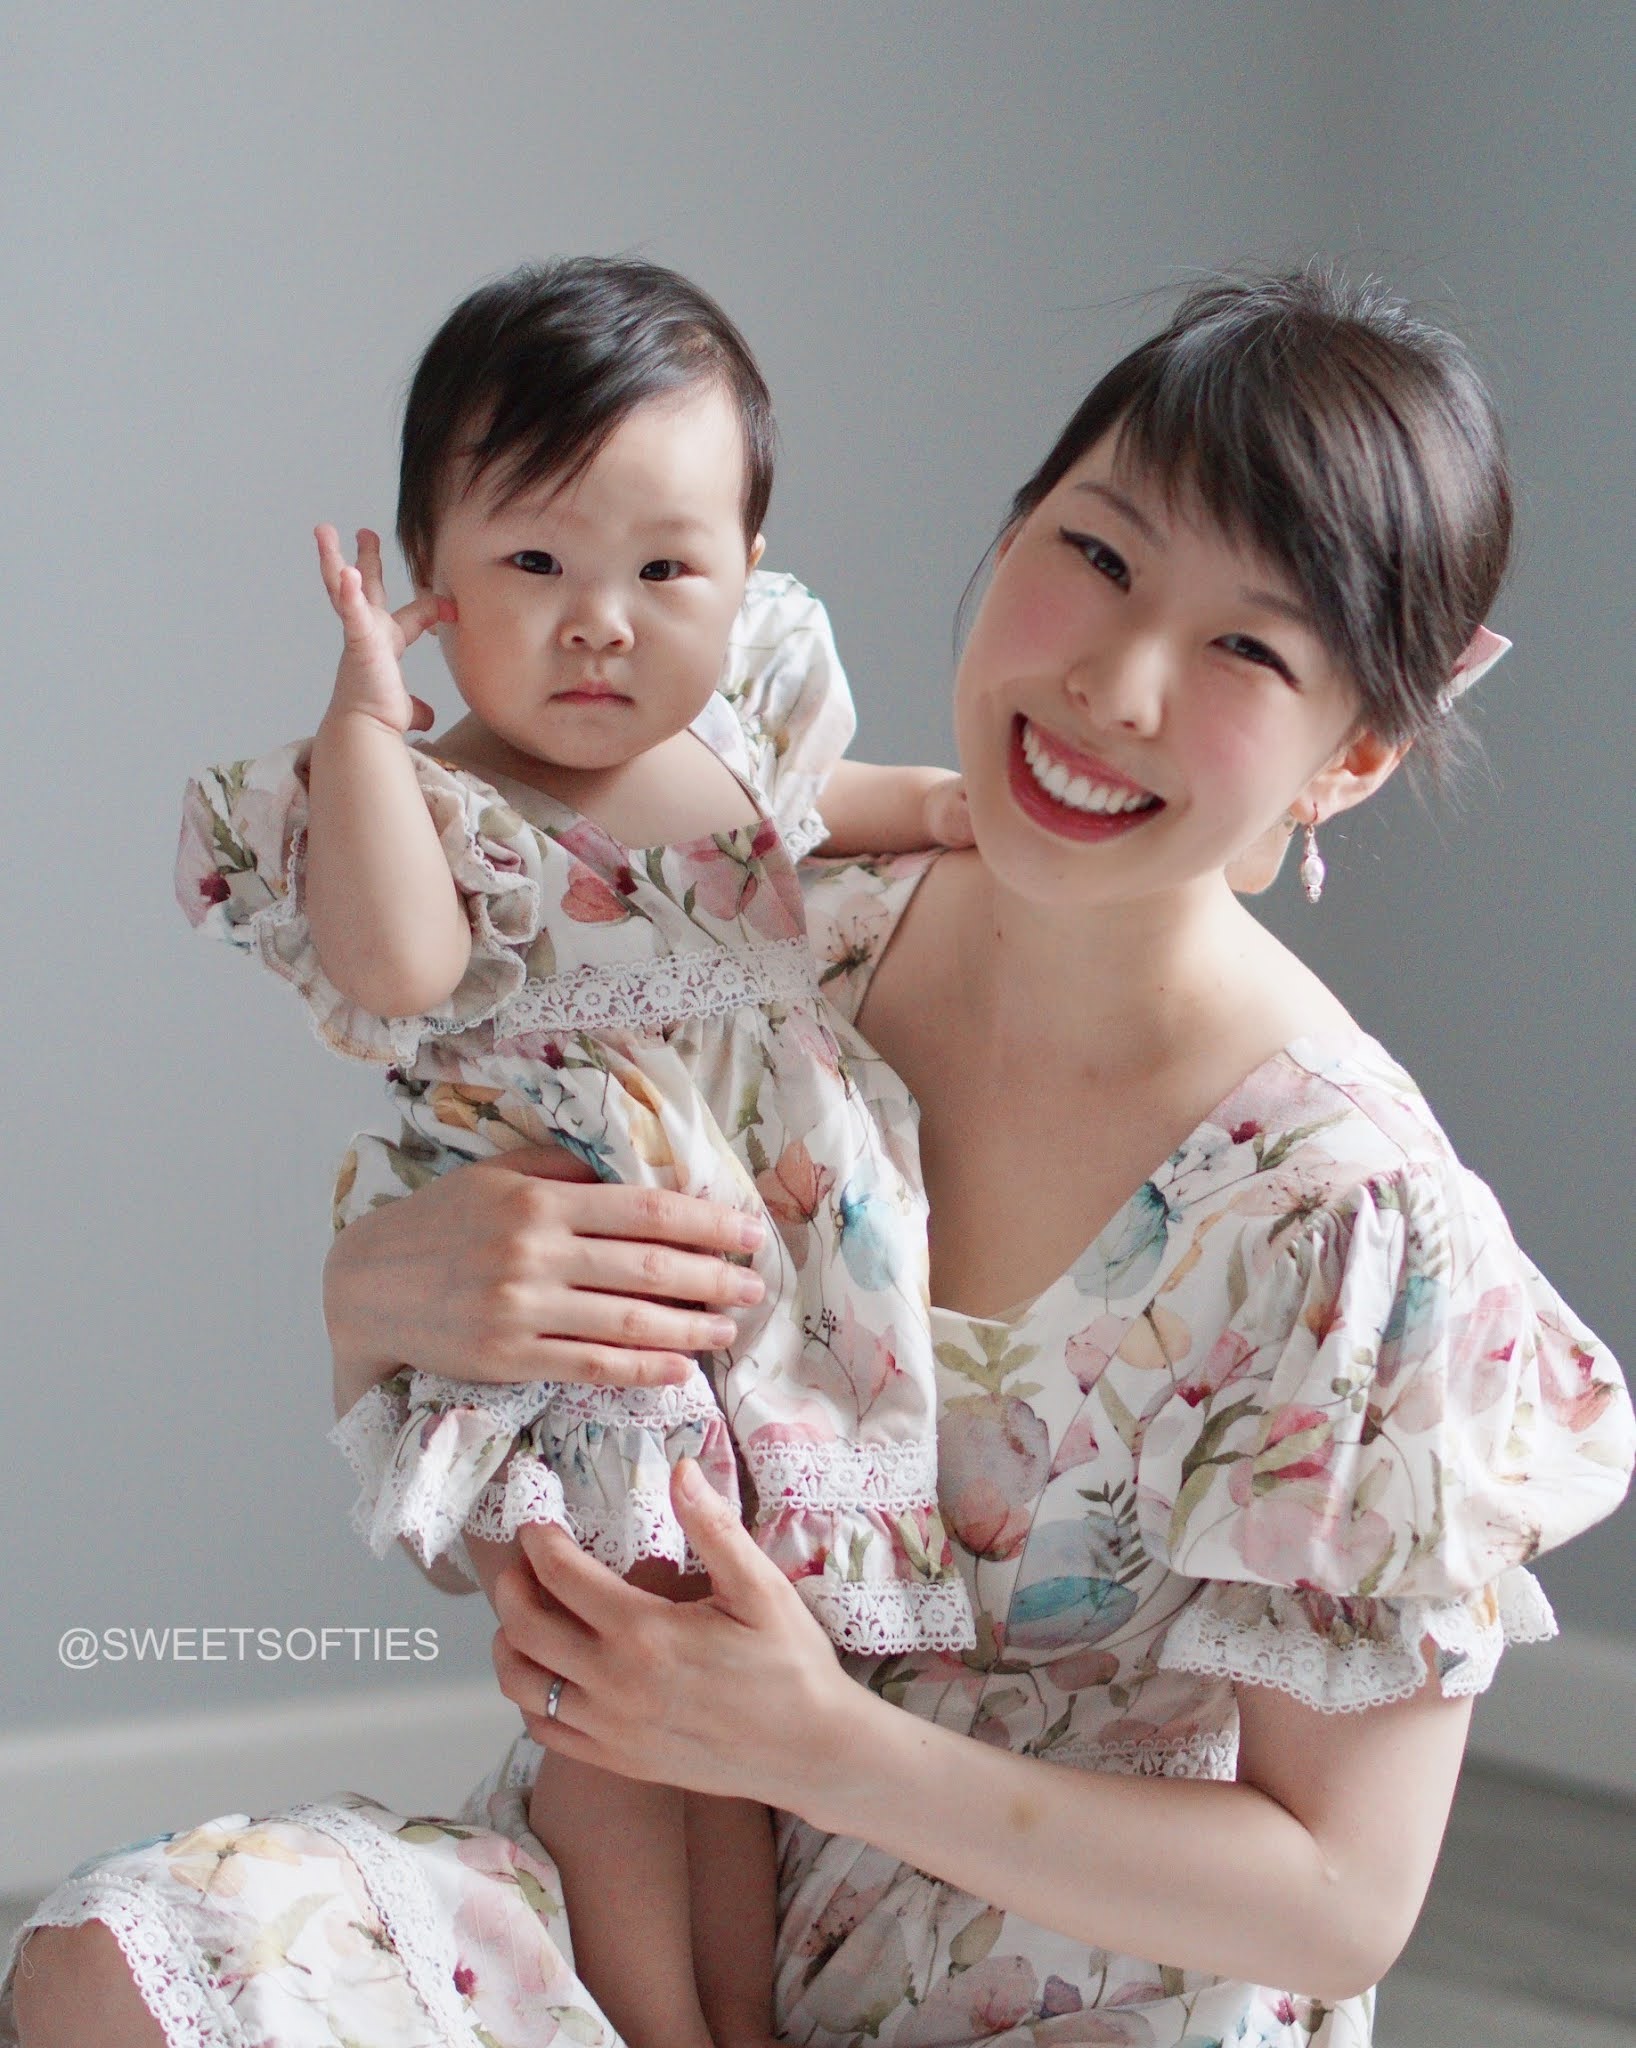
I'd say my little girl approves of this lantern...
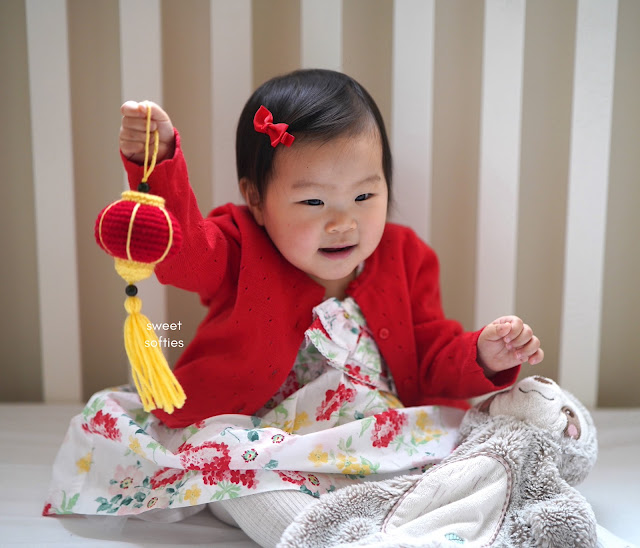
Watch my baby and I show off the finished lantern in my YouTube video! You can get a sense of how it looks size-wise, and get the basic info about this project.
If you're looking for a smaller, no-sew version of this lantern, be sure to check out my Mini Lunar Lantern (free pattern). You can whip it up even faster and it makes a great keychain!

Additionally, I wanted to share a toy that we got for our little girl from Lego! It's this Happy Childhood Moments set, which features Chinese New Year celebrations. I'm thrilled to be seeing more diverse toys available for the young generation!
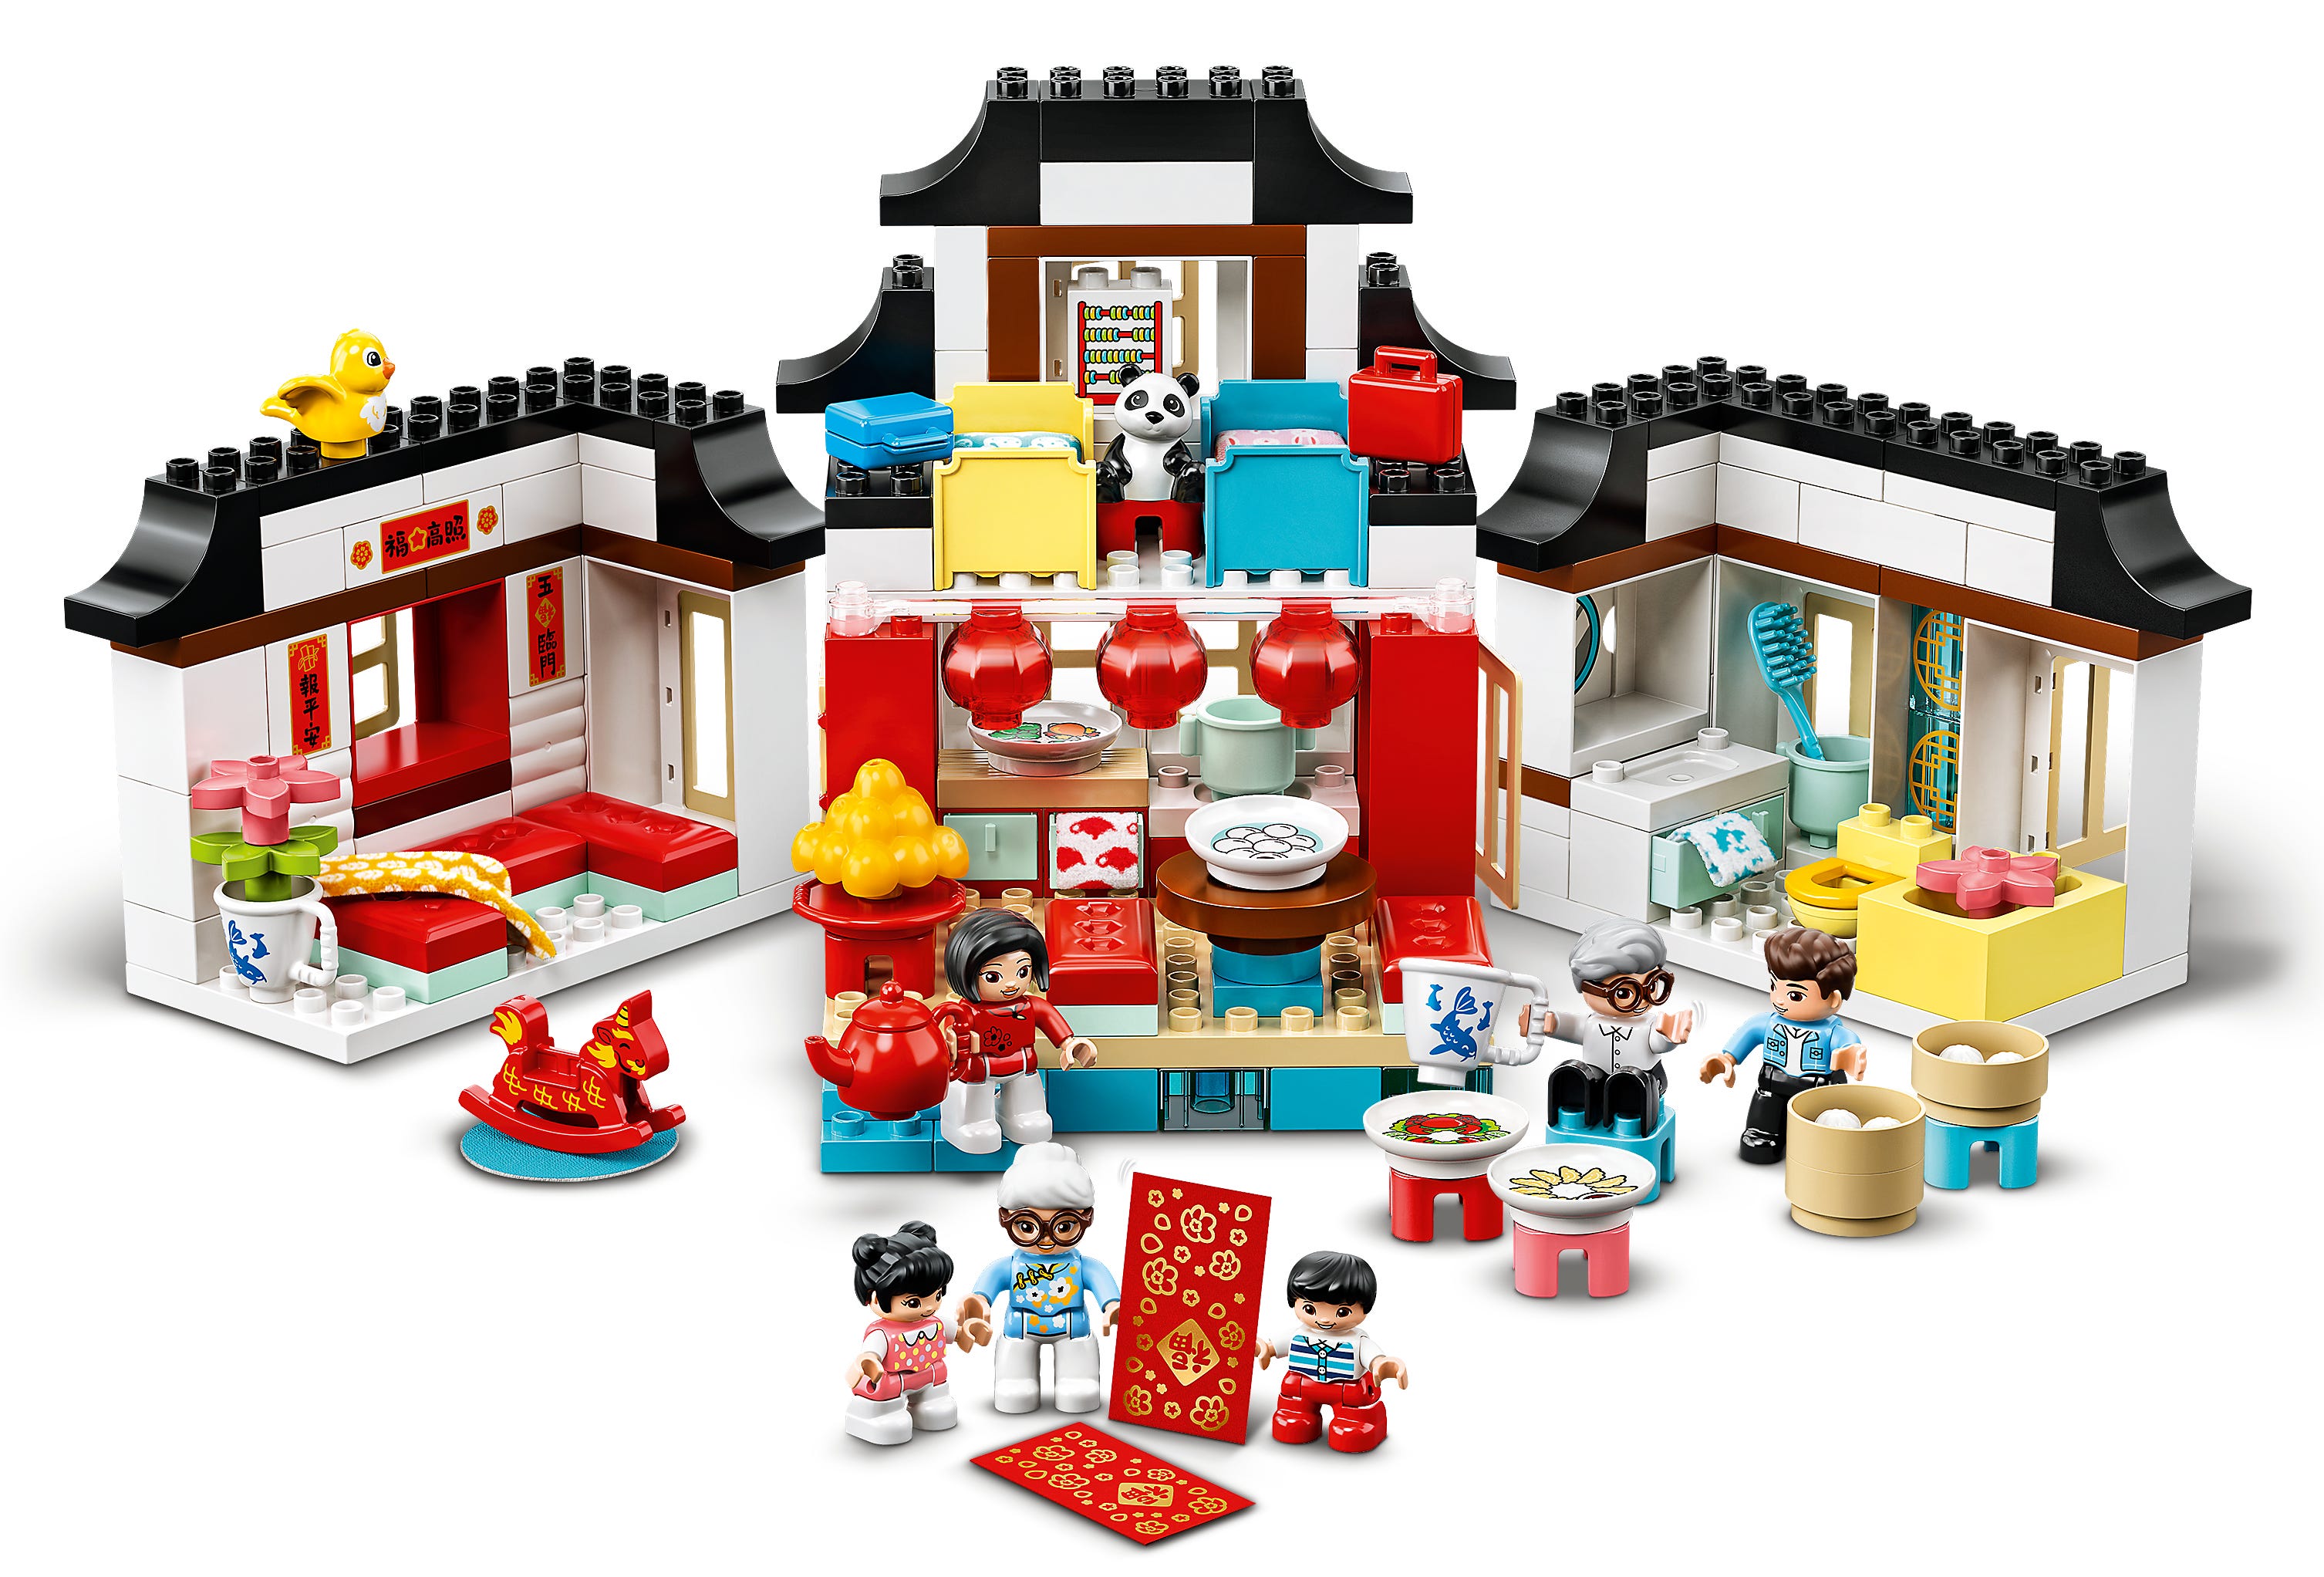
The Happy Childhood Moments set introduces preschoolers to 2 exciting events – Chinese New Year celebrations and the first day at kindergarten. With 2 alternative building designs, this educational toy provides toddlers with endless playful learning opportunities.
Want the PDF pattern?
It's printable, ad-free, easy to read, includes photo references, and helps support Sweet Softies! (If you enjoy my free patterns, you can consider it as a donation to me when you buy one of my pattern PDFs! It allows me to maintain my blog and continue sharing more free patterns.)

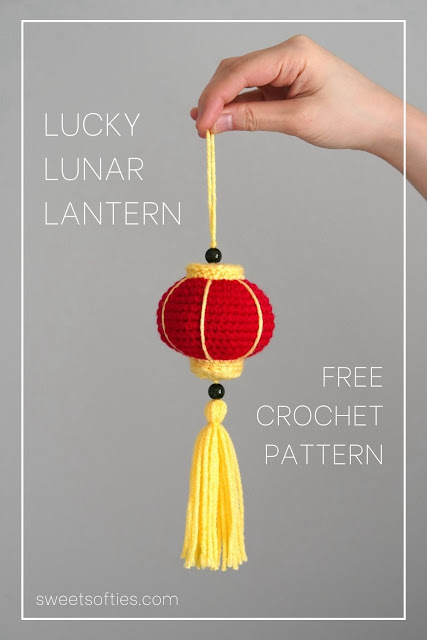
LUCKY LUNAR LANTERN
Free Amigurumi Crochet Pattern
Terms of Use & Copyright Notice © 2022 Sweet Softies (www.sweetsofties.com). You have permission to sell finished products made from this pattern, but you must credit Sweet Softies as the owner/creator of this pattern by linking to my website (www.sweetsofties.com). No wholesale. You may not translate, copy, alter, or sell my patterns in part or in whole in any way. My patterns may not be used in video tutorials or teaching online classes. My patterns may be used in teaching in-person classes ONLY with written consent from me. You may link to this pattern but you may not copy any part of the pattern instructions on other websites.
Intro:
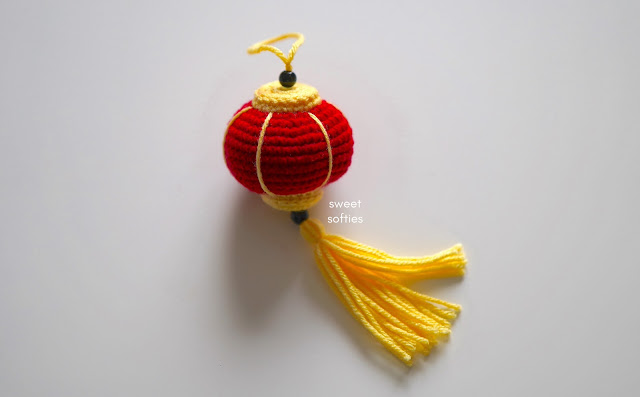
The Lucky Lunar Lantern is the perfect decor to crochet for Chinese New Year! This cute, little red and yellow lantern will be sure to bring fortune and good blessings for this auspicious new year. It is a fast, easy, and almost no-sew amigurumi project. The minimal sewing that is required is simply to stitch the bottom panel, making it easy to attach the tassel. This amigurumi project can be beautifully customized with beads, tassels, and embroidery. The PDF pattern includes full written instructions for crocheting this lantern from start to finish, and includes 20+ photo references to guide you through the process.Size:
Lantern size (not including handle or bottom tassel): approximately 3 inches (7.6 cm) in height, and 3.5 inches (9 cm) in width.
Level of Difficulty:
★★☆☆☆ Familiar Beginner. Requires familiarity with stitches used (below) and changing yarn colors.
Stitches/Terms Used:
- FO = fasten off
- MR = magic ring
- sc = single crochet
- inc = increase
- dec = decrease
- BLO = back loops only
- FLO = front loops only
- Surface sl st
Materials:
- Medium weight (4) yarn in red and yellow
- 3.25mm crochet hook (or suitable hook size to crochet without gaps between stitches)
- Stuffing
- Yarn needle
- Scissors
- Hard piece of cardboard scrap
- Two beads with holes large enough to pull two strands of yarn through

Important Notes (Read Before Beginning):
- The Top Lid, Lantern Body, and Bottom Lid are all crocheted in one piece using continuous rounds, so do not FO until instructed to do so. The ‘Bottom Lid Panel’ at the end is crocheted separately to create a clean and flat look, and for ease of attaching the tassel.
- Photo references are available in the PDF pattern.
TOP LID
Start with yellow yarn.R1: In MR, sc 6. (6)
R2: Inc around. (12)
R3: (Sc, inc) x 6. (18)
R4: Sc around in BLO. (18)
R5: Sc around. (18)
Without FO, continue with the Lantern Body.
LANTERN BODY
Switch to red yarn.R6: In FLO, (sc, inc) x 9. (27)
R7: (Sc 2, inc) x 9. (36)
R8: (Sc 3, inc) x 9. (45)
R9-R14: Sc around. (45)
R15: (Sc 3, dec) x 9. (36)
Pause and follow these directions. We will now create a cardboard circle (See Figure 1 in PDF pattern) and attach the top handle (See Figure 2 in PDF pattern).
- Cut out a small circle from hard cardboard that would fit inside of the lantern’s top lid. Using a yarn needle, poke a hole through the center of the cardboard. Fit the cardboard circle inside of the top lid.
- Attach the top handle by pulling a loop of yellow yarn in through both the cardboard and the crocheted ‘Top Lid’ where you started your MR. Tie a large knot from the inside to keep it from getting loose. If desired, add a bead to the top, and tie a knot on the handle to keep the bead in place.
R16: (Sc 2, dec) x 9. (27)
R17: (Sc, dec) x 9. (18)
Without FO, continue with the Bottom Lid.
BOTTOM LID
Switch to yellow yarn.R18: Sc around in FLO. (18)
R19: Sc around. (18)
FO with a tail, which you will weave in later. Stuff the lantern well.
BOTTOM LID PANEL
Use yellow yarn.R1: In MR, sc 6. (6)
R2: Inc around. (12)
R3: (Sc, inc) x 6. (18)
FO with a long tail for sewing to the lantern later.

- Make a tassel using my easy tassel tutorial.
- Attach the tassel to the center of the ‘Bottom Lid Panel.’ Make sure the Bottom Lid Panel’s “right side” is facing the tassel, so that the “wrong side” will be facing into the lantern’s opening. (See Figure 4 in PDF pattern)
- Sew the Bottom Lid Panel to the lantern’s bottom lid opening. You may work into the BLO of the lantern as you sew. (See Figure 4 in PDF pattern)
- Using yellow yarn, sew a total of 6 stripes to the sides of the lantern, going from the top lid to the bottom lid. Each stripe is 3 sts apart. (See Figure 5 in PDF pattern)
- Optionally, you may also crochet an extra trim around the top and bottom lids of the lantern, using the surface sl st technique and yellow yarn between the lid edges (between R3-R4 for the top, and between R19 and the sewn on ‘bottom lid panel’ for the bottom).
Click here for my surface sl st video tutorial.
Congratulations on finishing your Lucky Lunar Lantern!

Thank you for reading, and hope you have a fun time crocheting Clara! If you'd like to help out my blog, feel free to check out my post, "5 Ways to Support my Blog!"
You might like my other designs if you enjoyed this one! Simply click on the image below for the pattern, or check out all my free patterns here.


I'd love to see your finished work from my designs! Here are links for sharing photos of your creations:
Best wishes,

.jpg)

.jpg)